
Continue scrolling to see real examples of proper surface preparation and how we approach different project conditions to create a strong foundation for a durable, long-lasting finish.
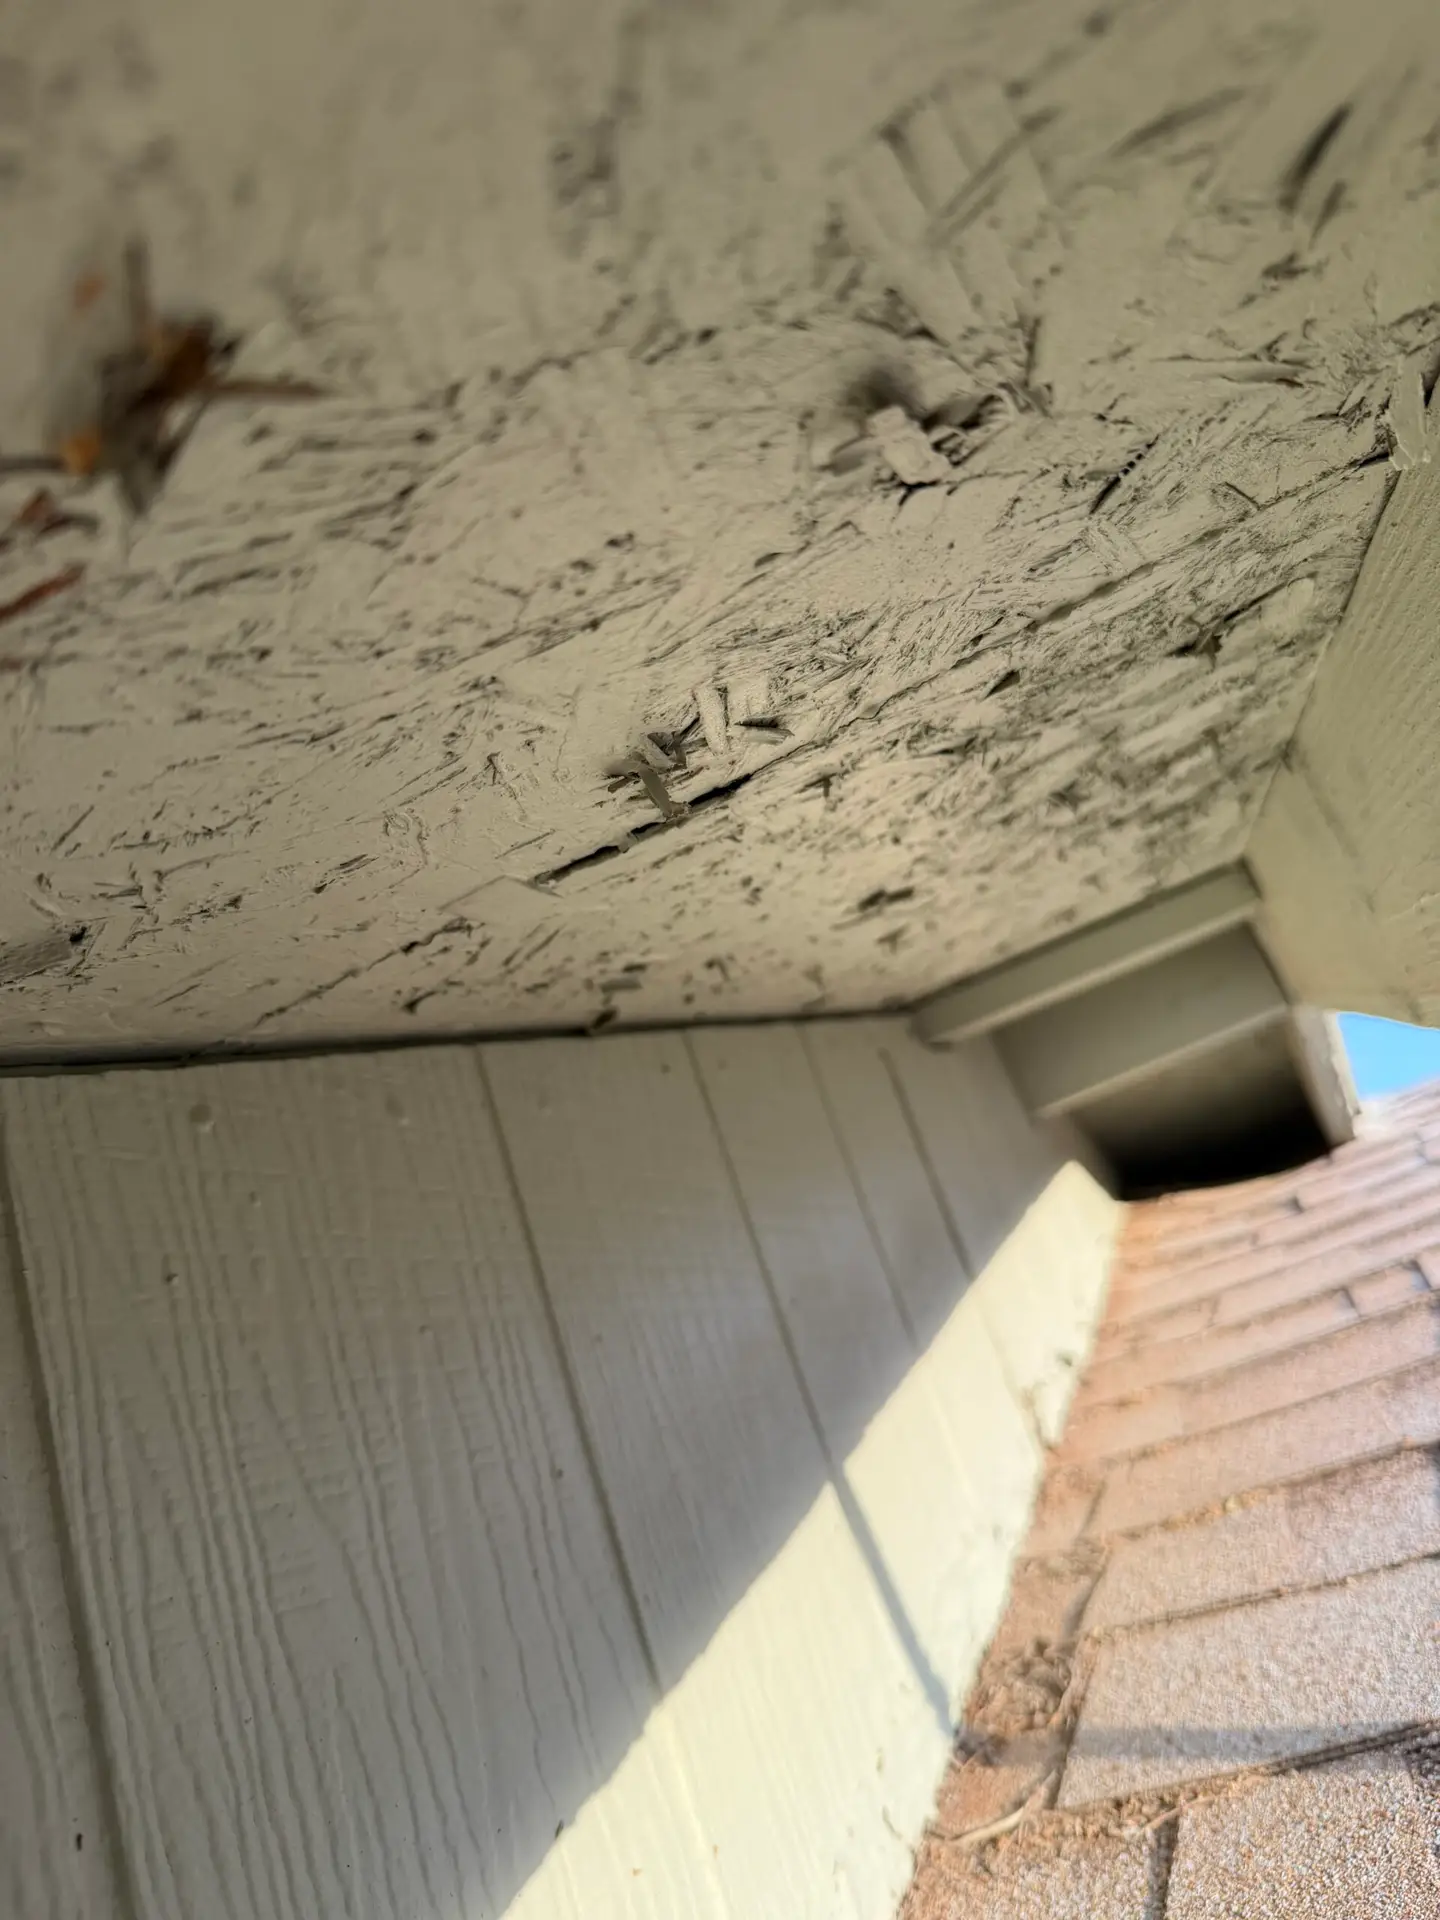
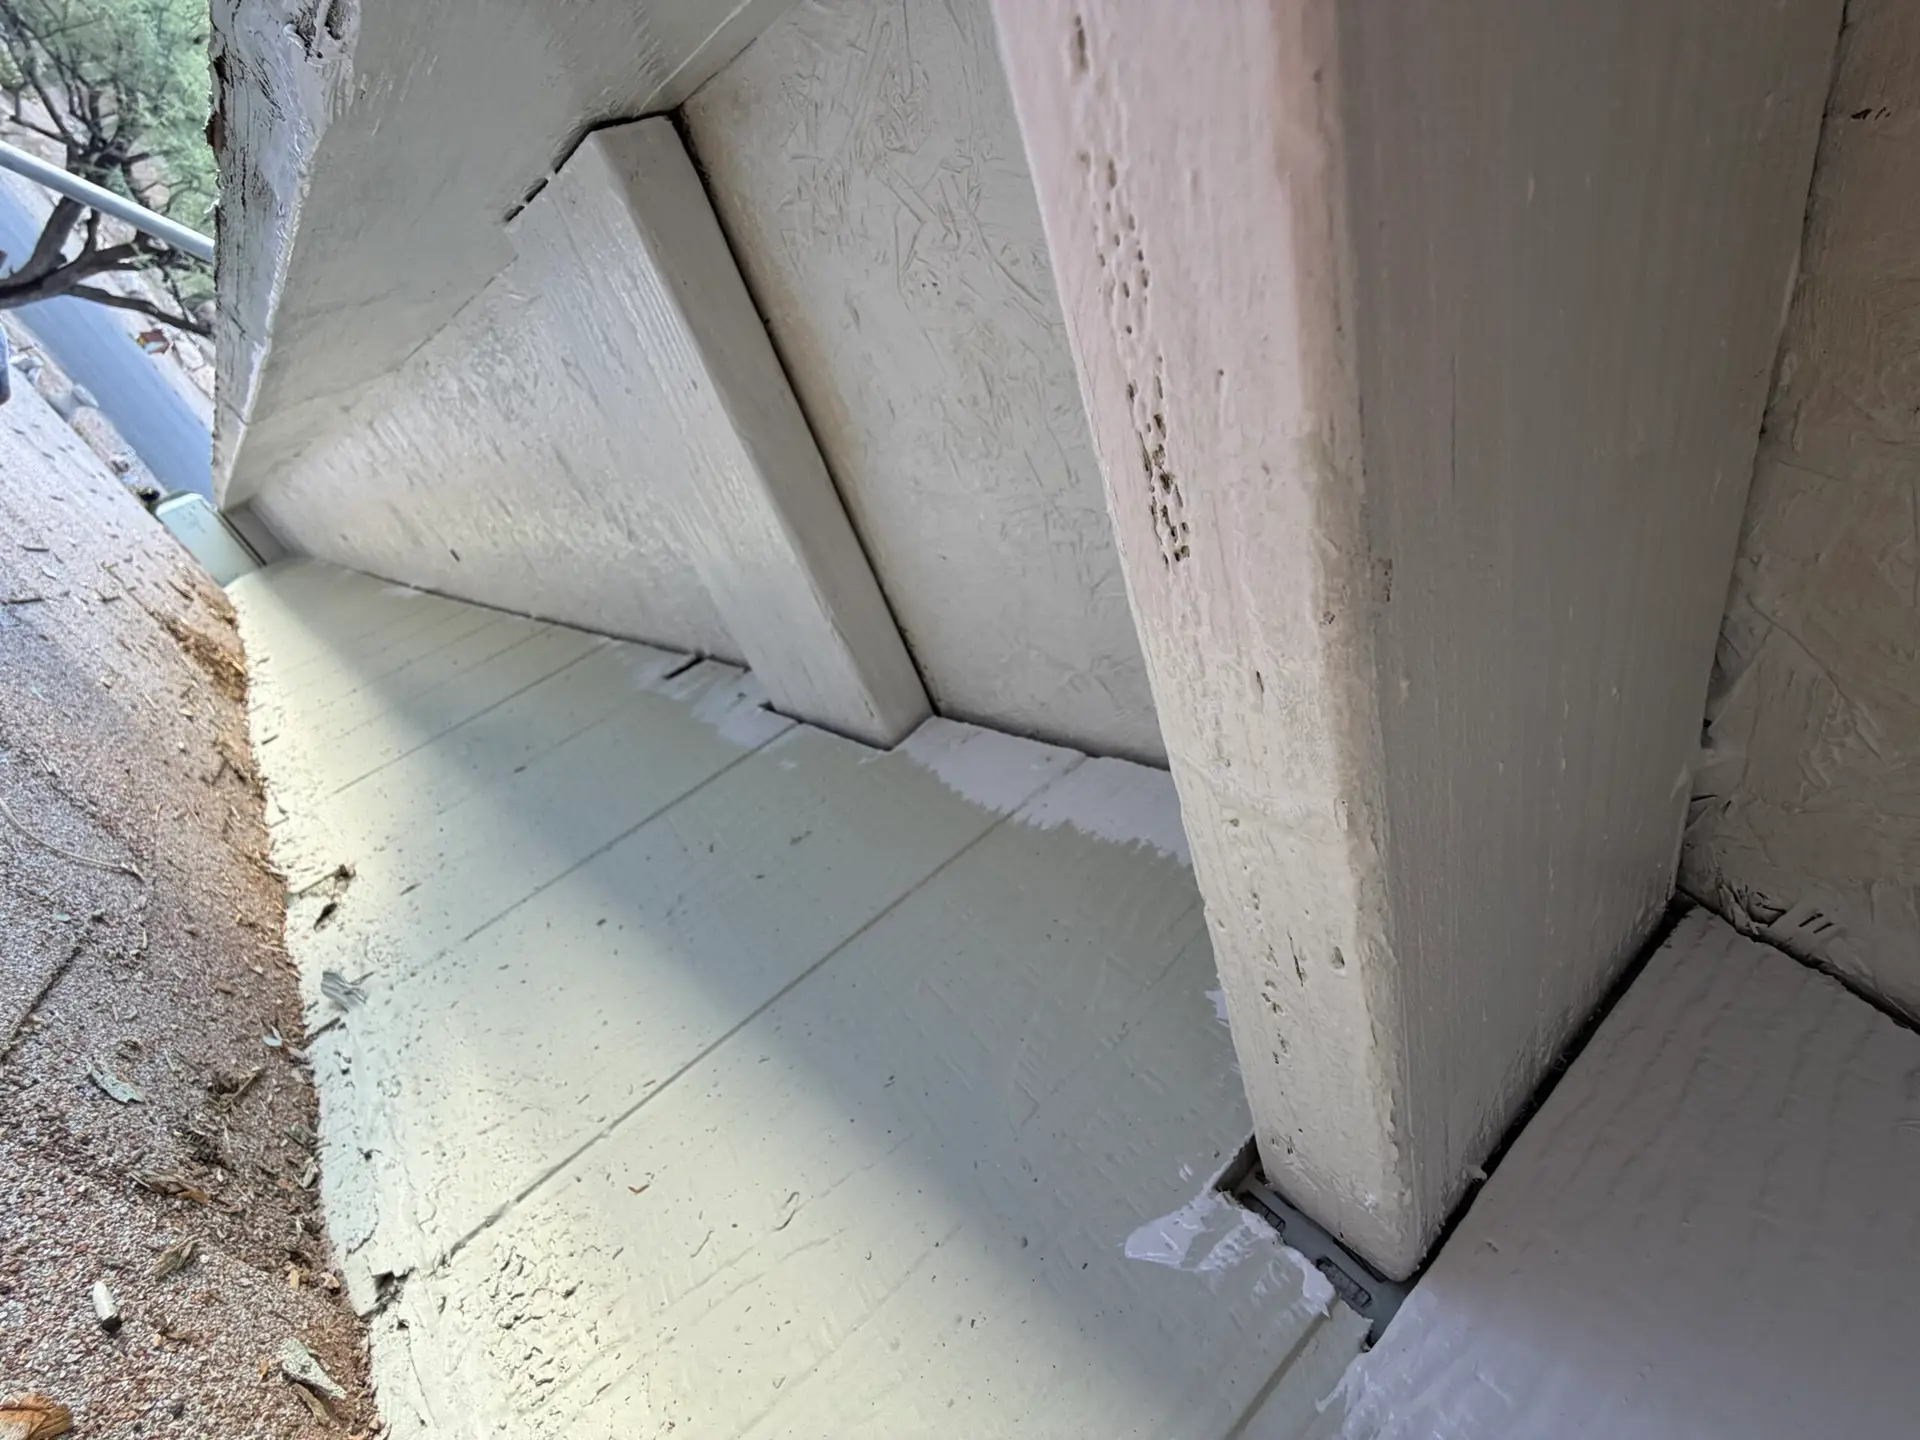
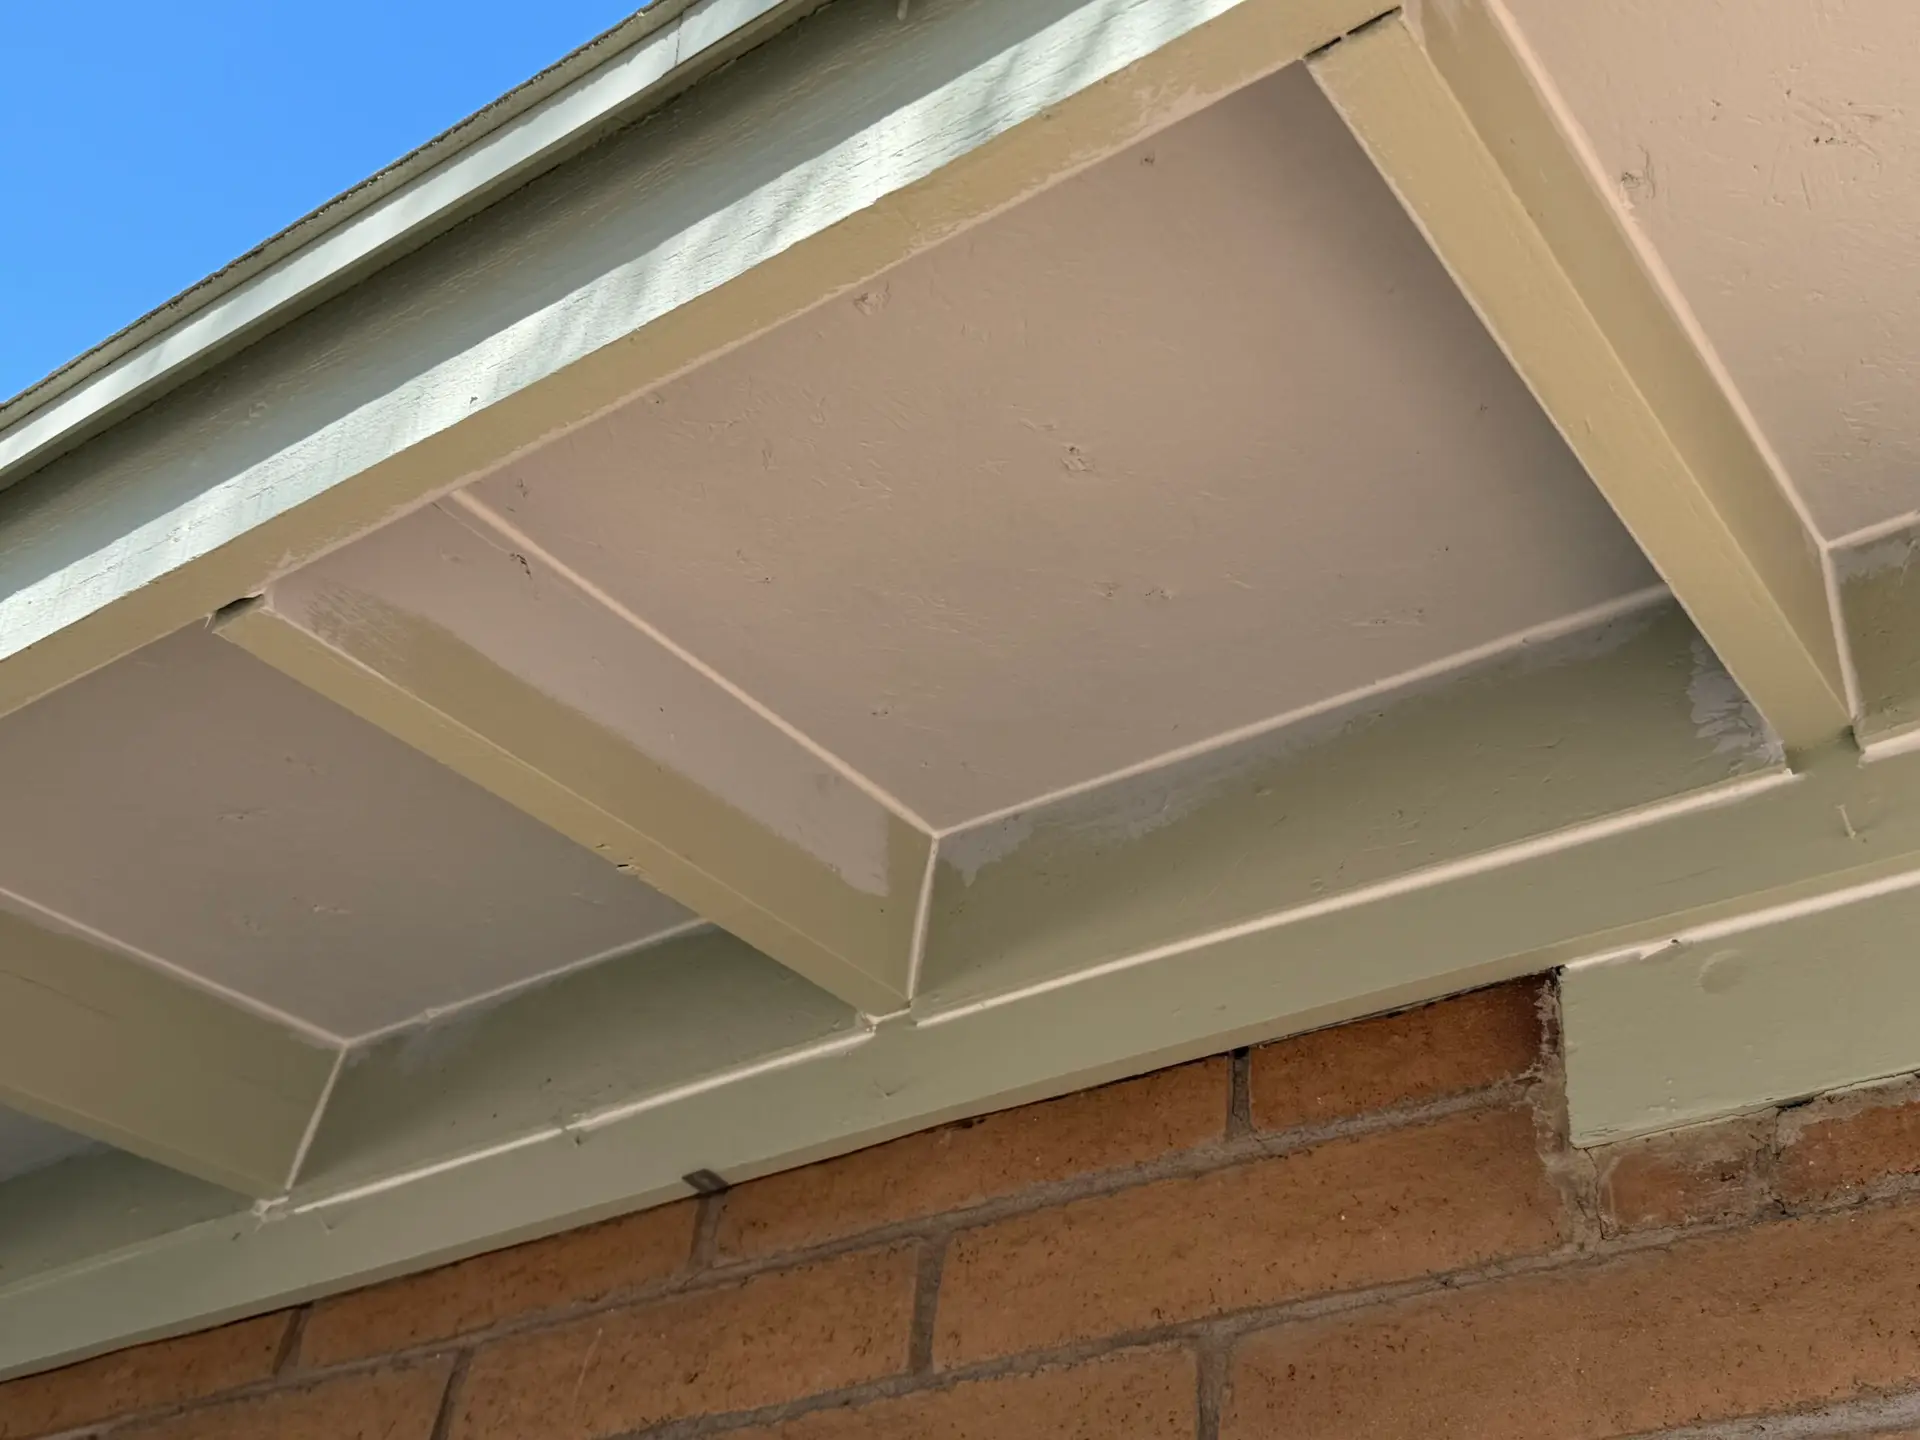
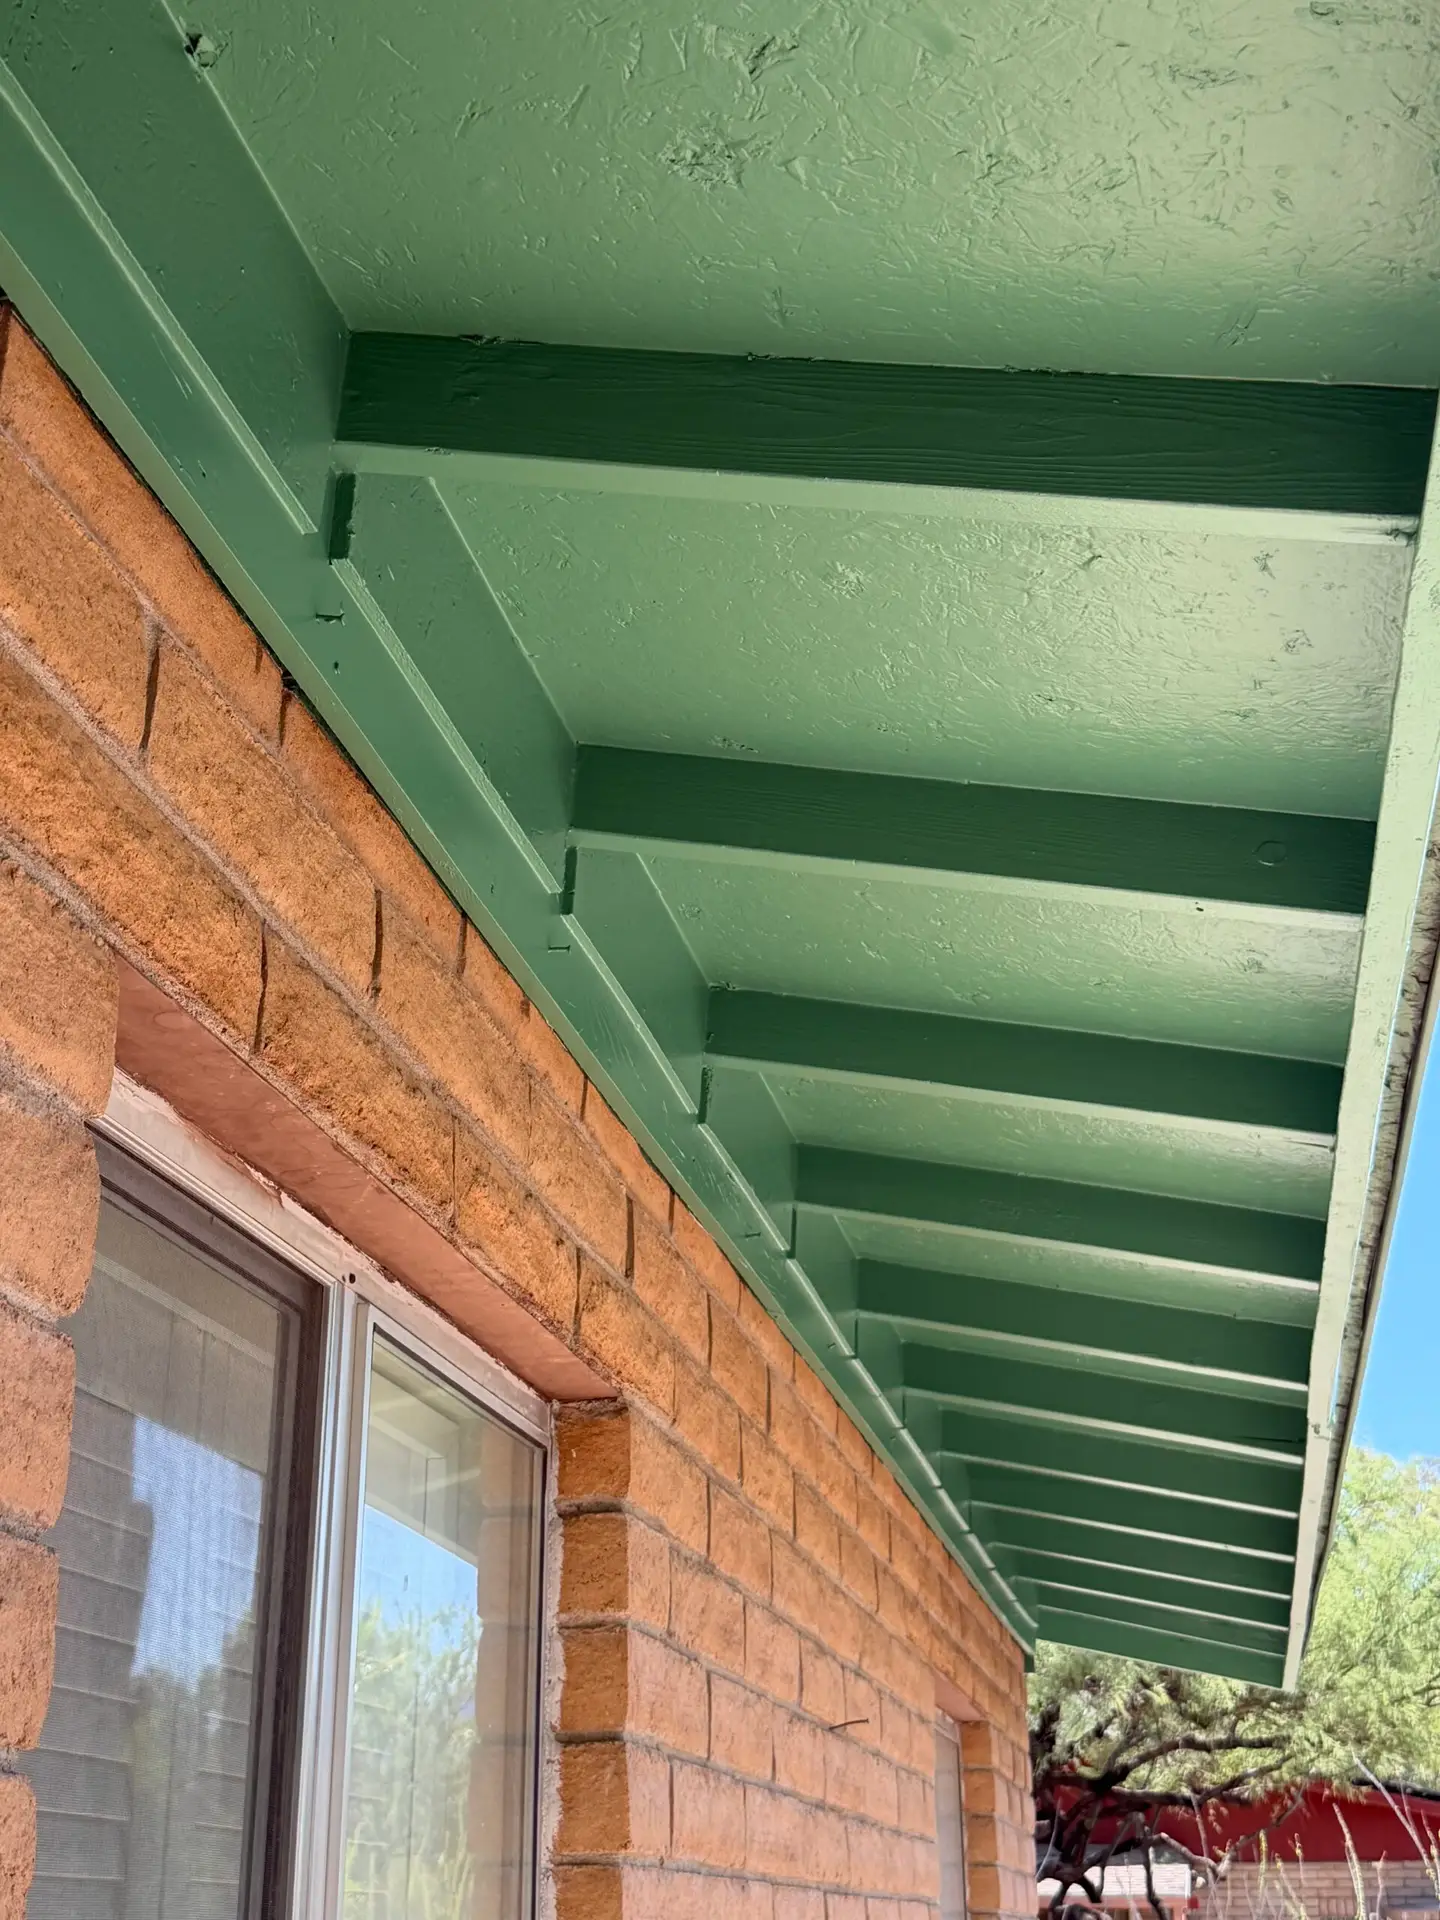
PROPER EAVE PREPARATION
Proper preparation is essential to achieving a durable, long-lasting finish on exterior eaves. Before any paint is applied, we carefully inspect the wood for loose, peeling, or failing coatings and remove any material that is no longer properly bonded to the surface.
We then sand the wood to smooth rough edges and help create a solid surface for the new coating system. Gaps, cracks, and open joints are caulked where needed to help seal the eaves against moisture intrusion and improve the overall finished appearance.
Once the surface has been properly prepared, exposed or previously failing areas are primed using a premium Sherwin-Williams primer. This helps seal the wood, improve adhesion, and create a reliable foundation for the finish coats.
The final step is applying a quality exterior paint system designed to protect the eaves from Tucson’s intense sun, heat, and changing weather conditions.
Our goal is not simply to cover failing paint — it is to properly prepare and restore the surface so the finished paint job performs better and lasts longer.
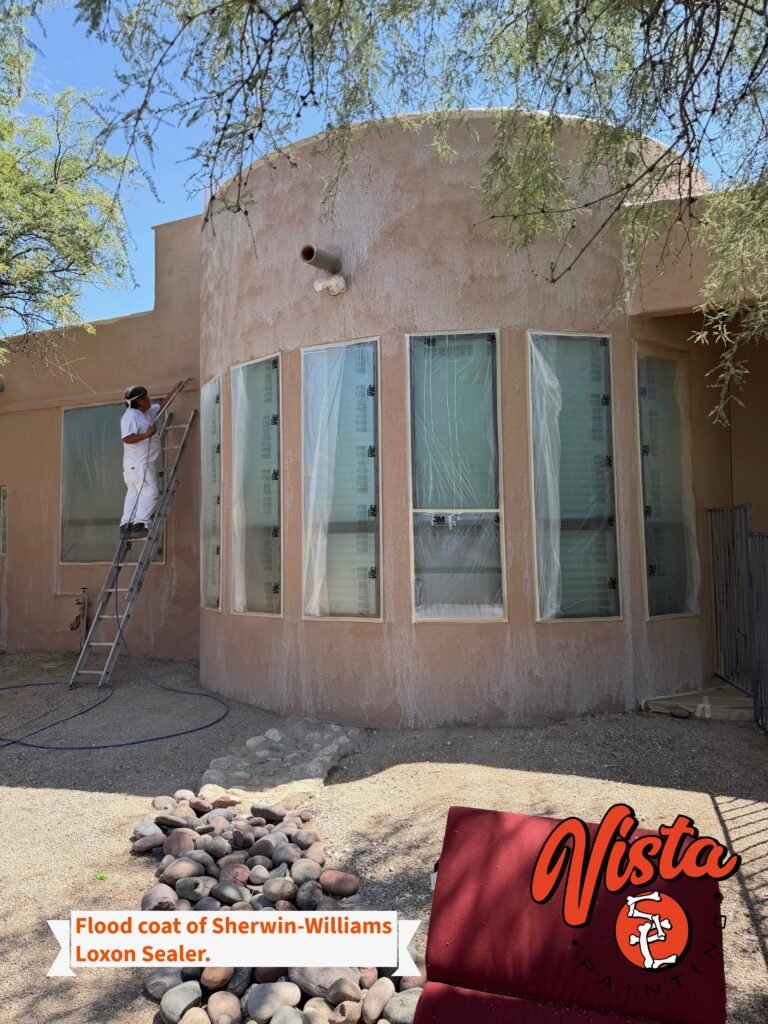
Sealing Stucco Before Painting
Proper surface preparation is especially important on stucco that has become chalky, porous, weathered, or previously coated. After the exterior is cleaned and any necessary repairs are completed, we apply Sherwin-Williams Loxon Sealer to help stabilize and seal the surface before painting.
The sealer penetrates into the stucco and helps create a more uniform surface for the finish coats. It also improves adhesion and helps prevent the new paint from being absorbed unevenly into dry or porous areas.
This extra preparation step gives the exterior coating system a stronger foundation and helps the finished paint perform better against Tucson’s intense sun, heat, and changing weather conditions.
At Vista SC Painting, we focus on correcting and preparing the surface before applying the finish coats because a long-lasting paint job starts with what is underneath the paint.
Reinforced Stucco Crack Repair
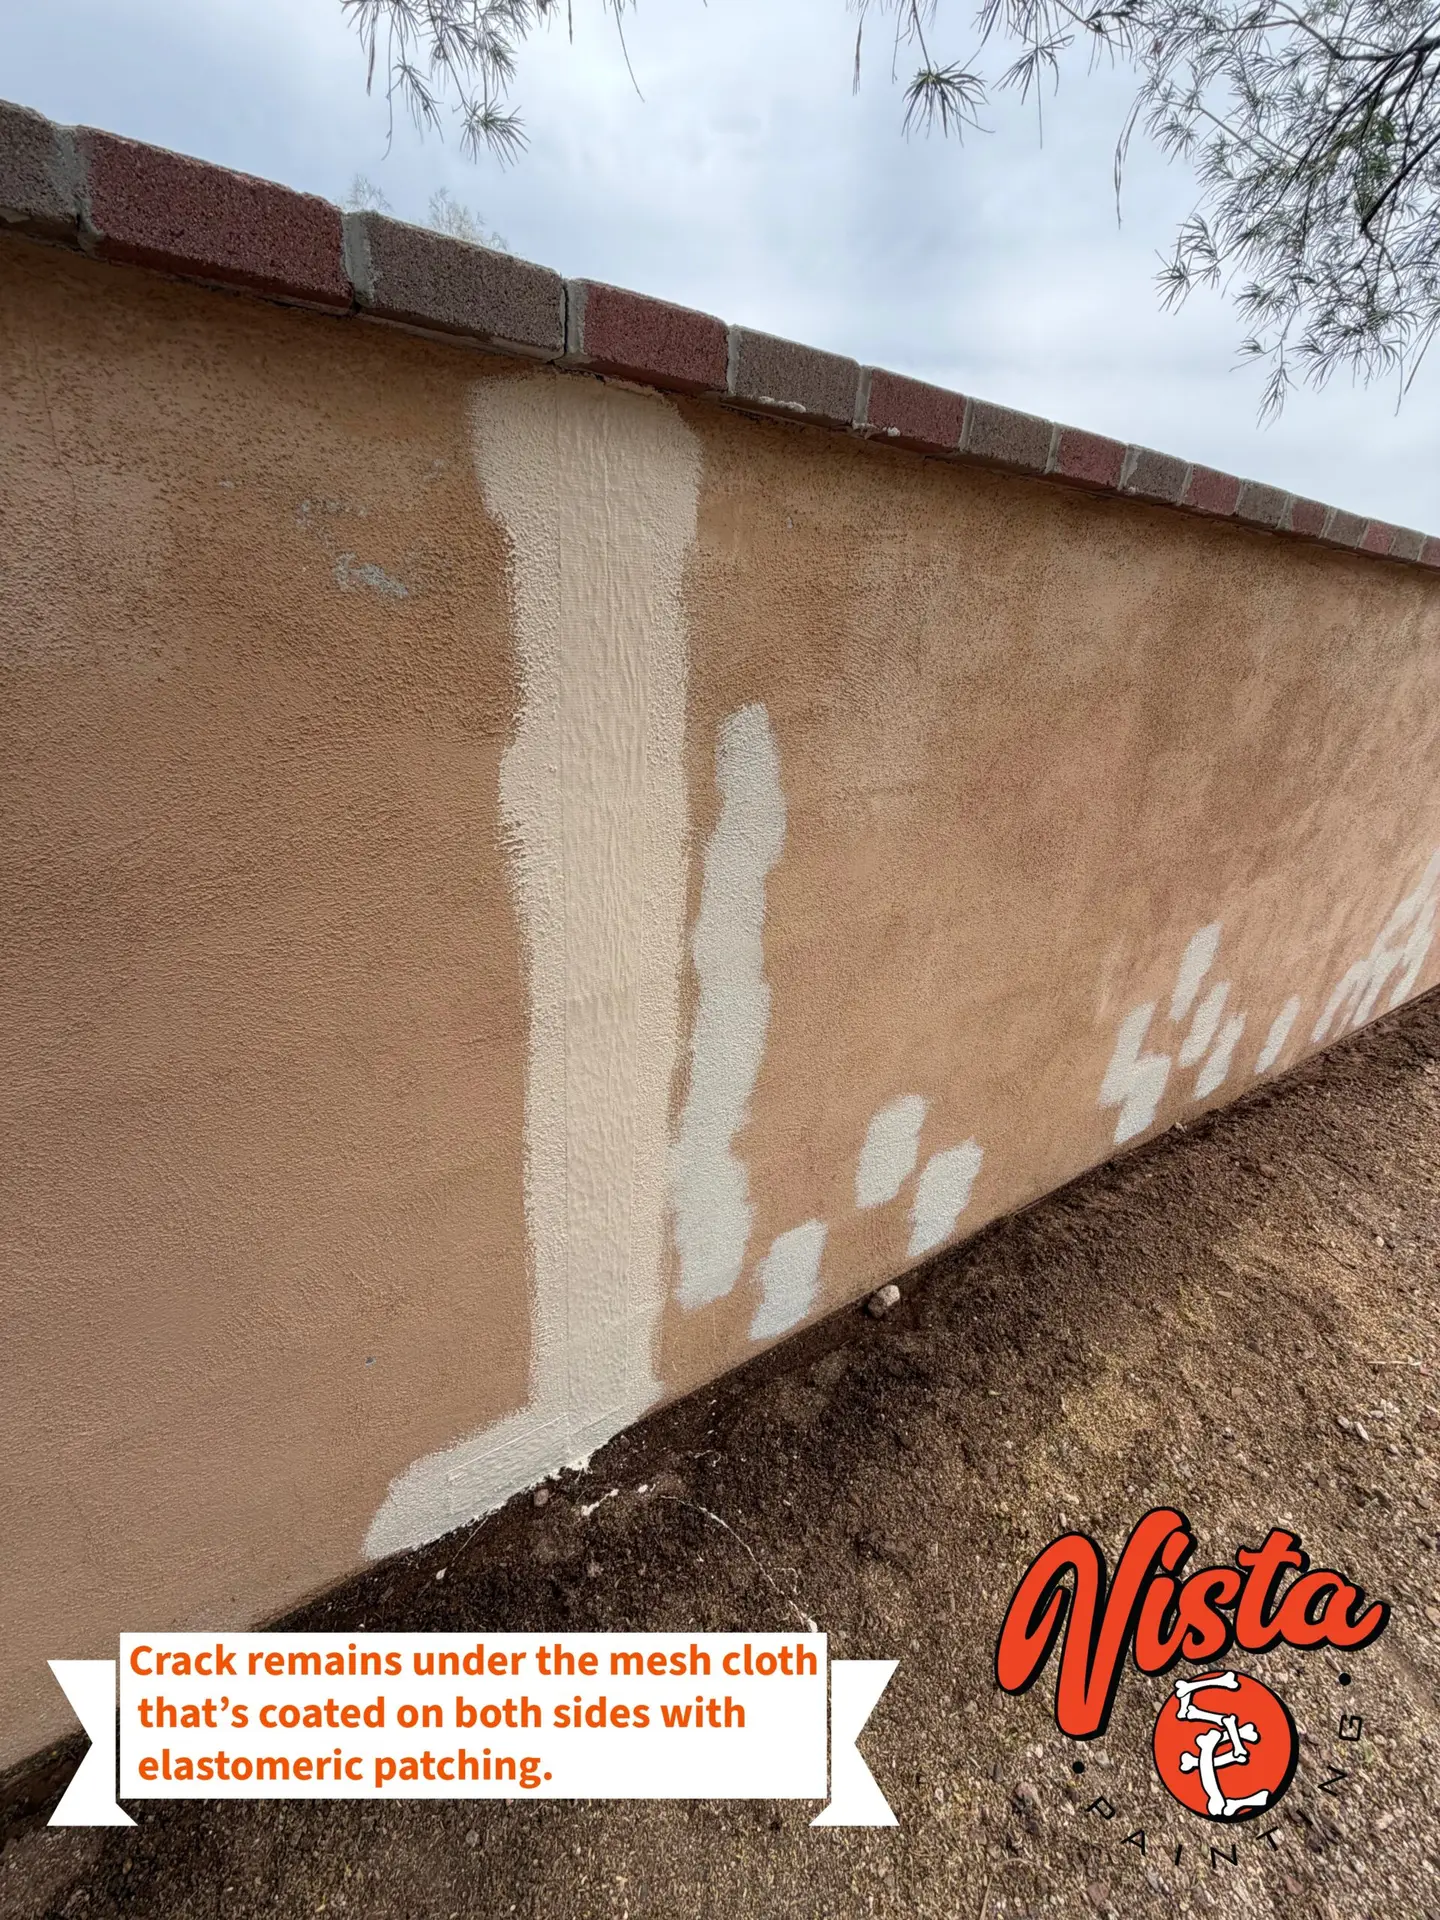
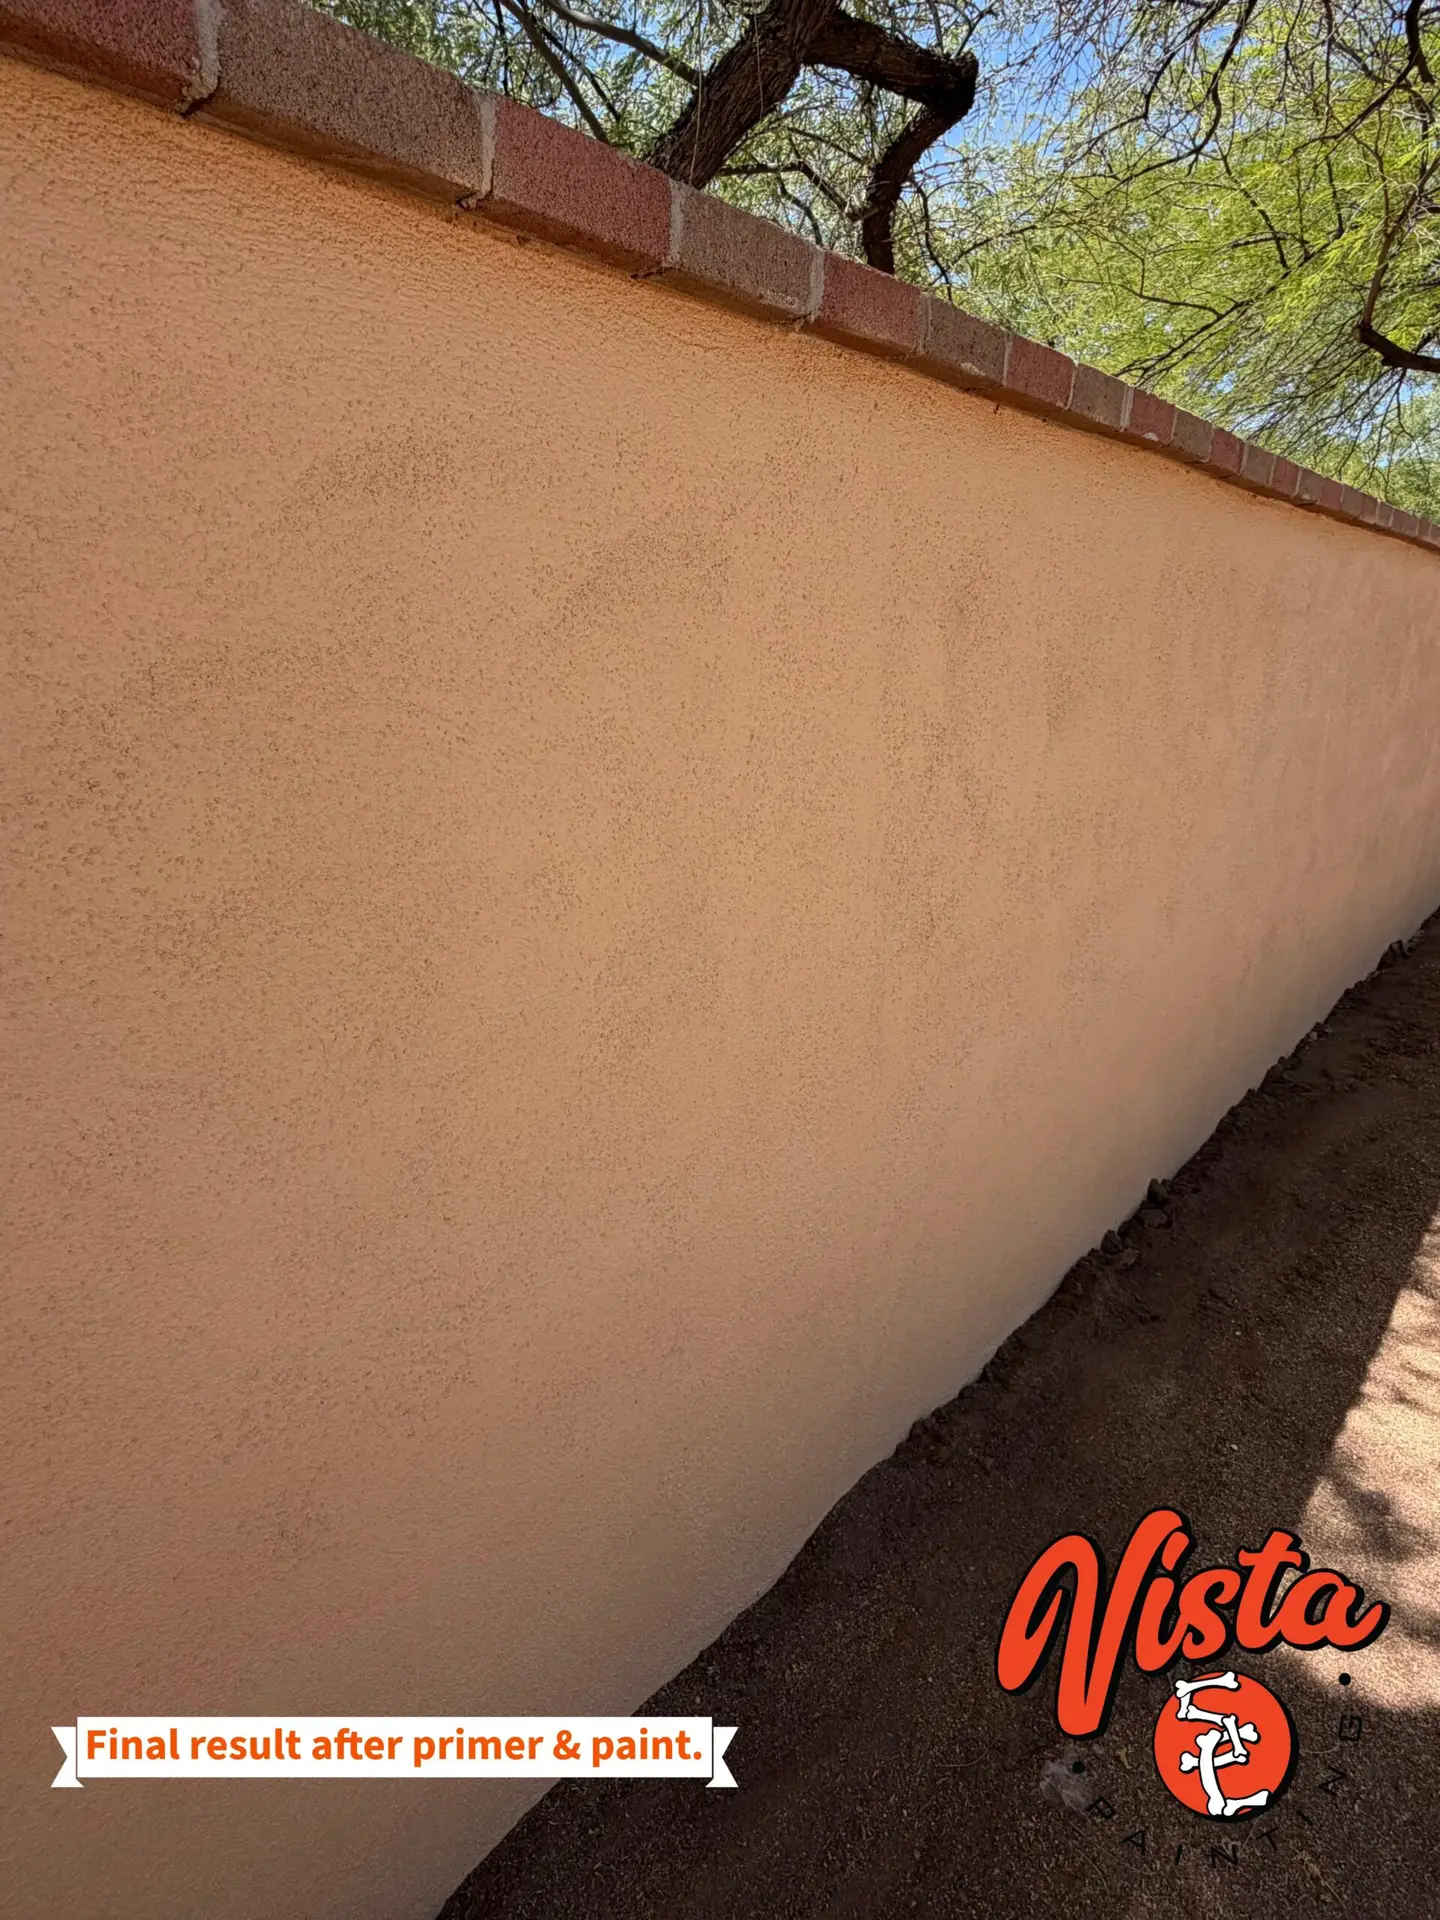
Cracks in stucco require more than simply filling the visible opening. We begin by cleaning and preparing the damaged area before embedding a reinforcing mesh cloth over the crack. The mesh is coated on both sides with a flexible elastomeric patching compound, helping reinforce the repair and reduce the chance of the crack quickly becoming visible again.
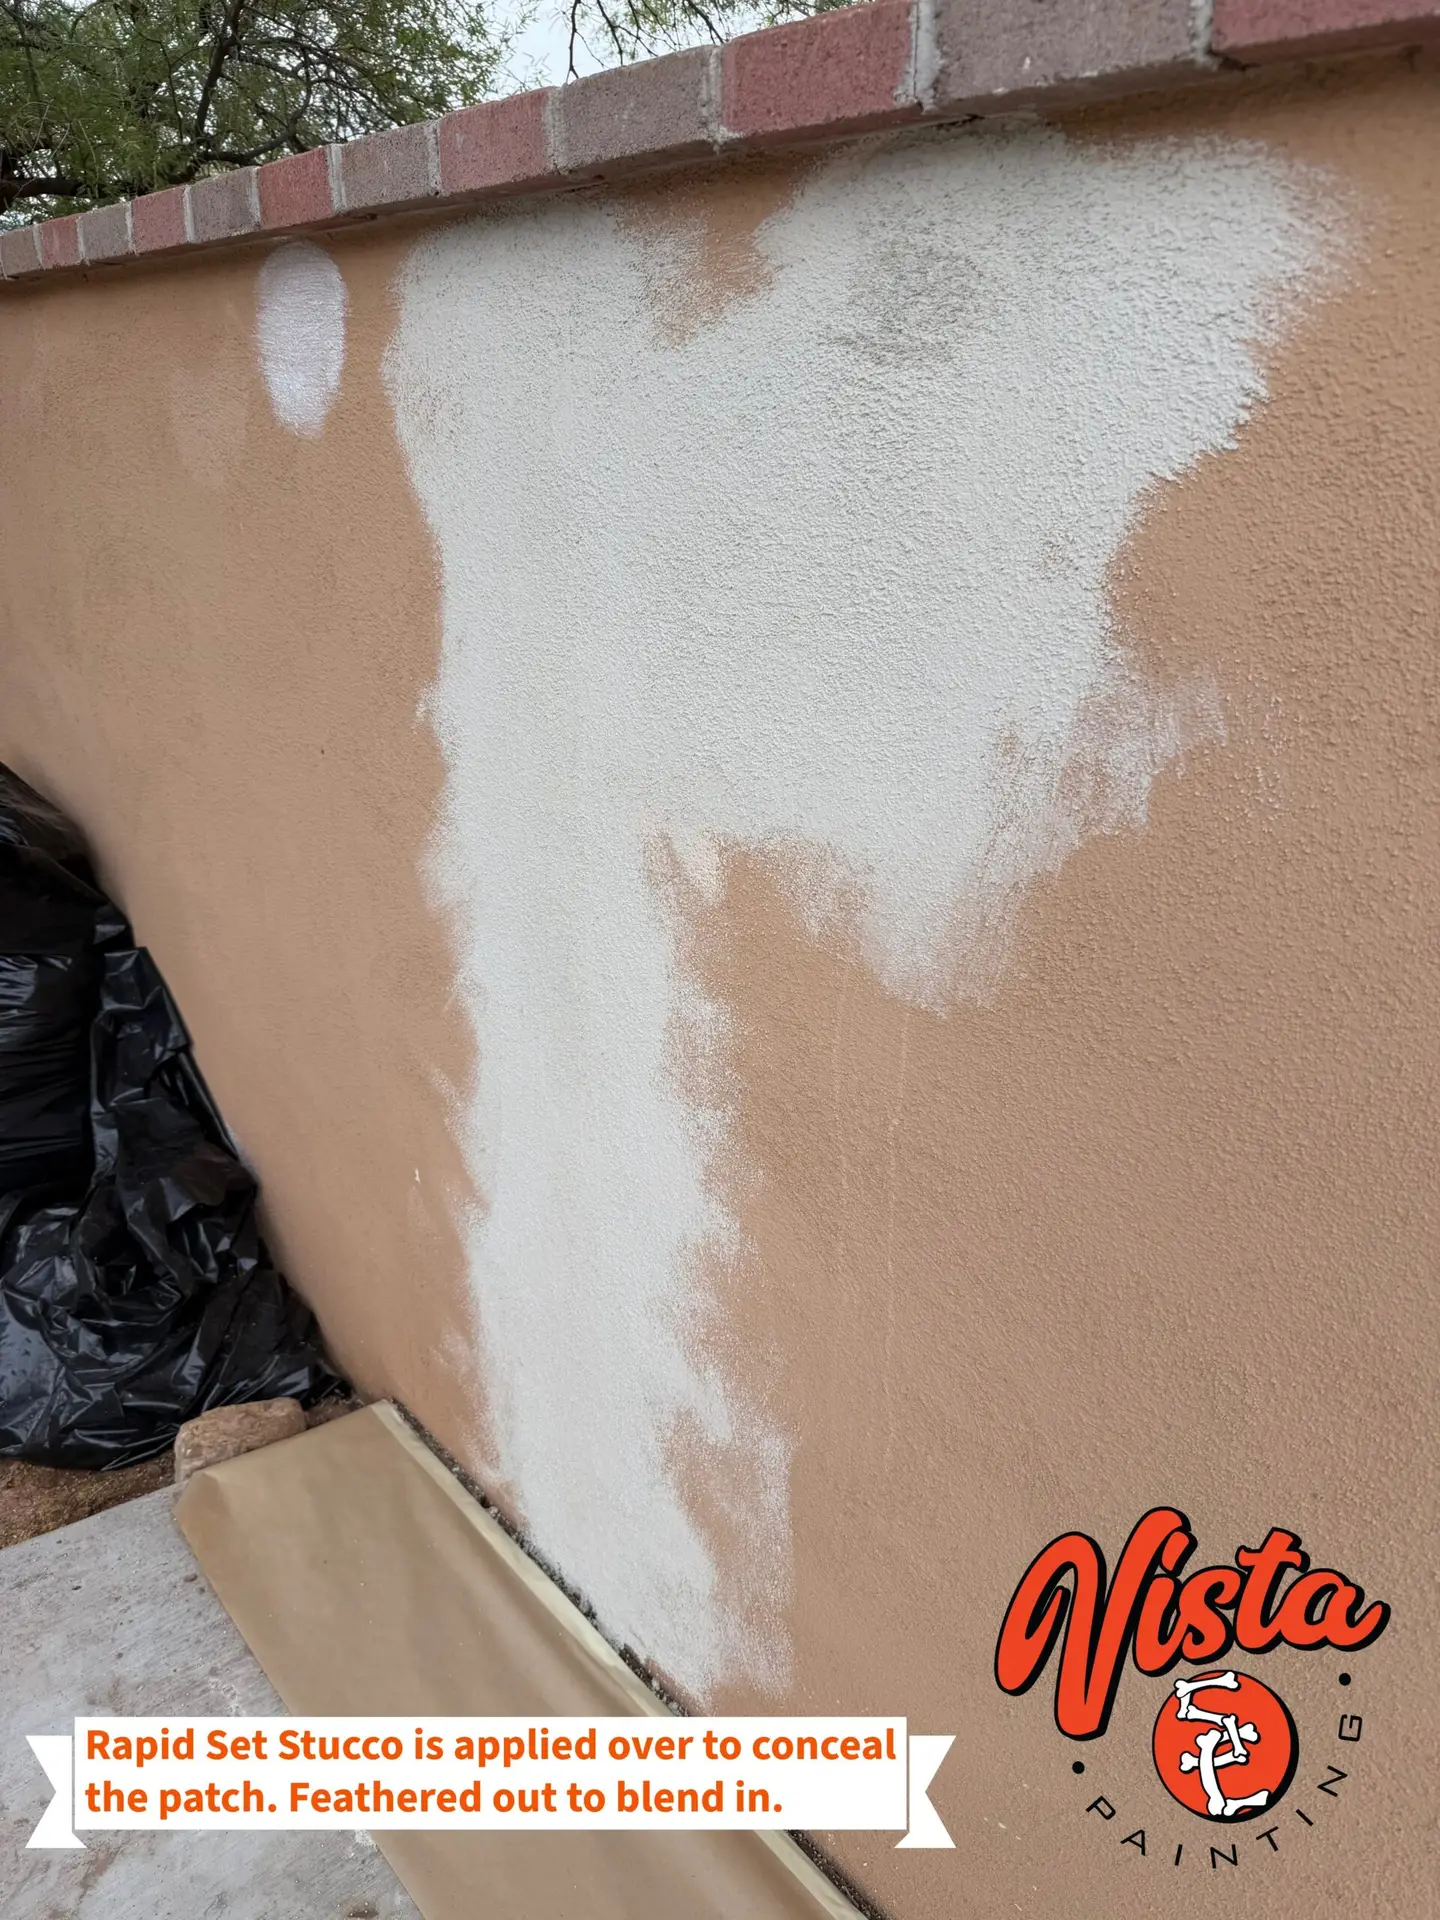
Next, Rapid Set stucco is applied over the reinforced area and carefully feathered into the surrounding surface. We match the existing texture as closely as possible so the repair does not leave behind a noticeable raised patch or hard edge.
After the repair has properly cured, the surface is primed and painted for a clean, uniform finish. This detailed process helps protect the wall, improves the appearance of the repair, and provides a more durable result than simply applying caulk or paint over the crack.
Restoring Failing Wood Fascia
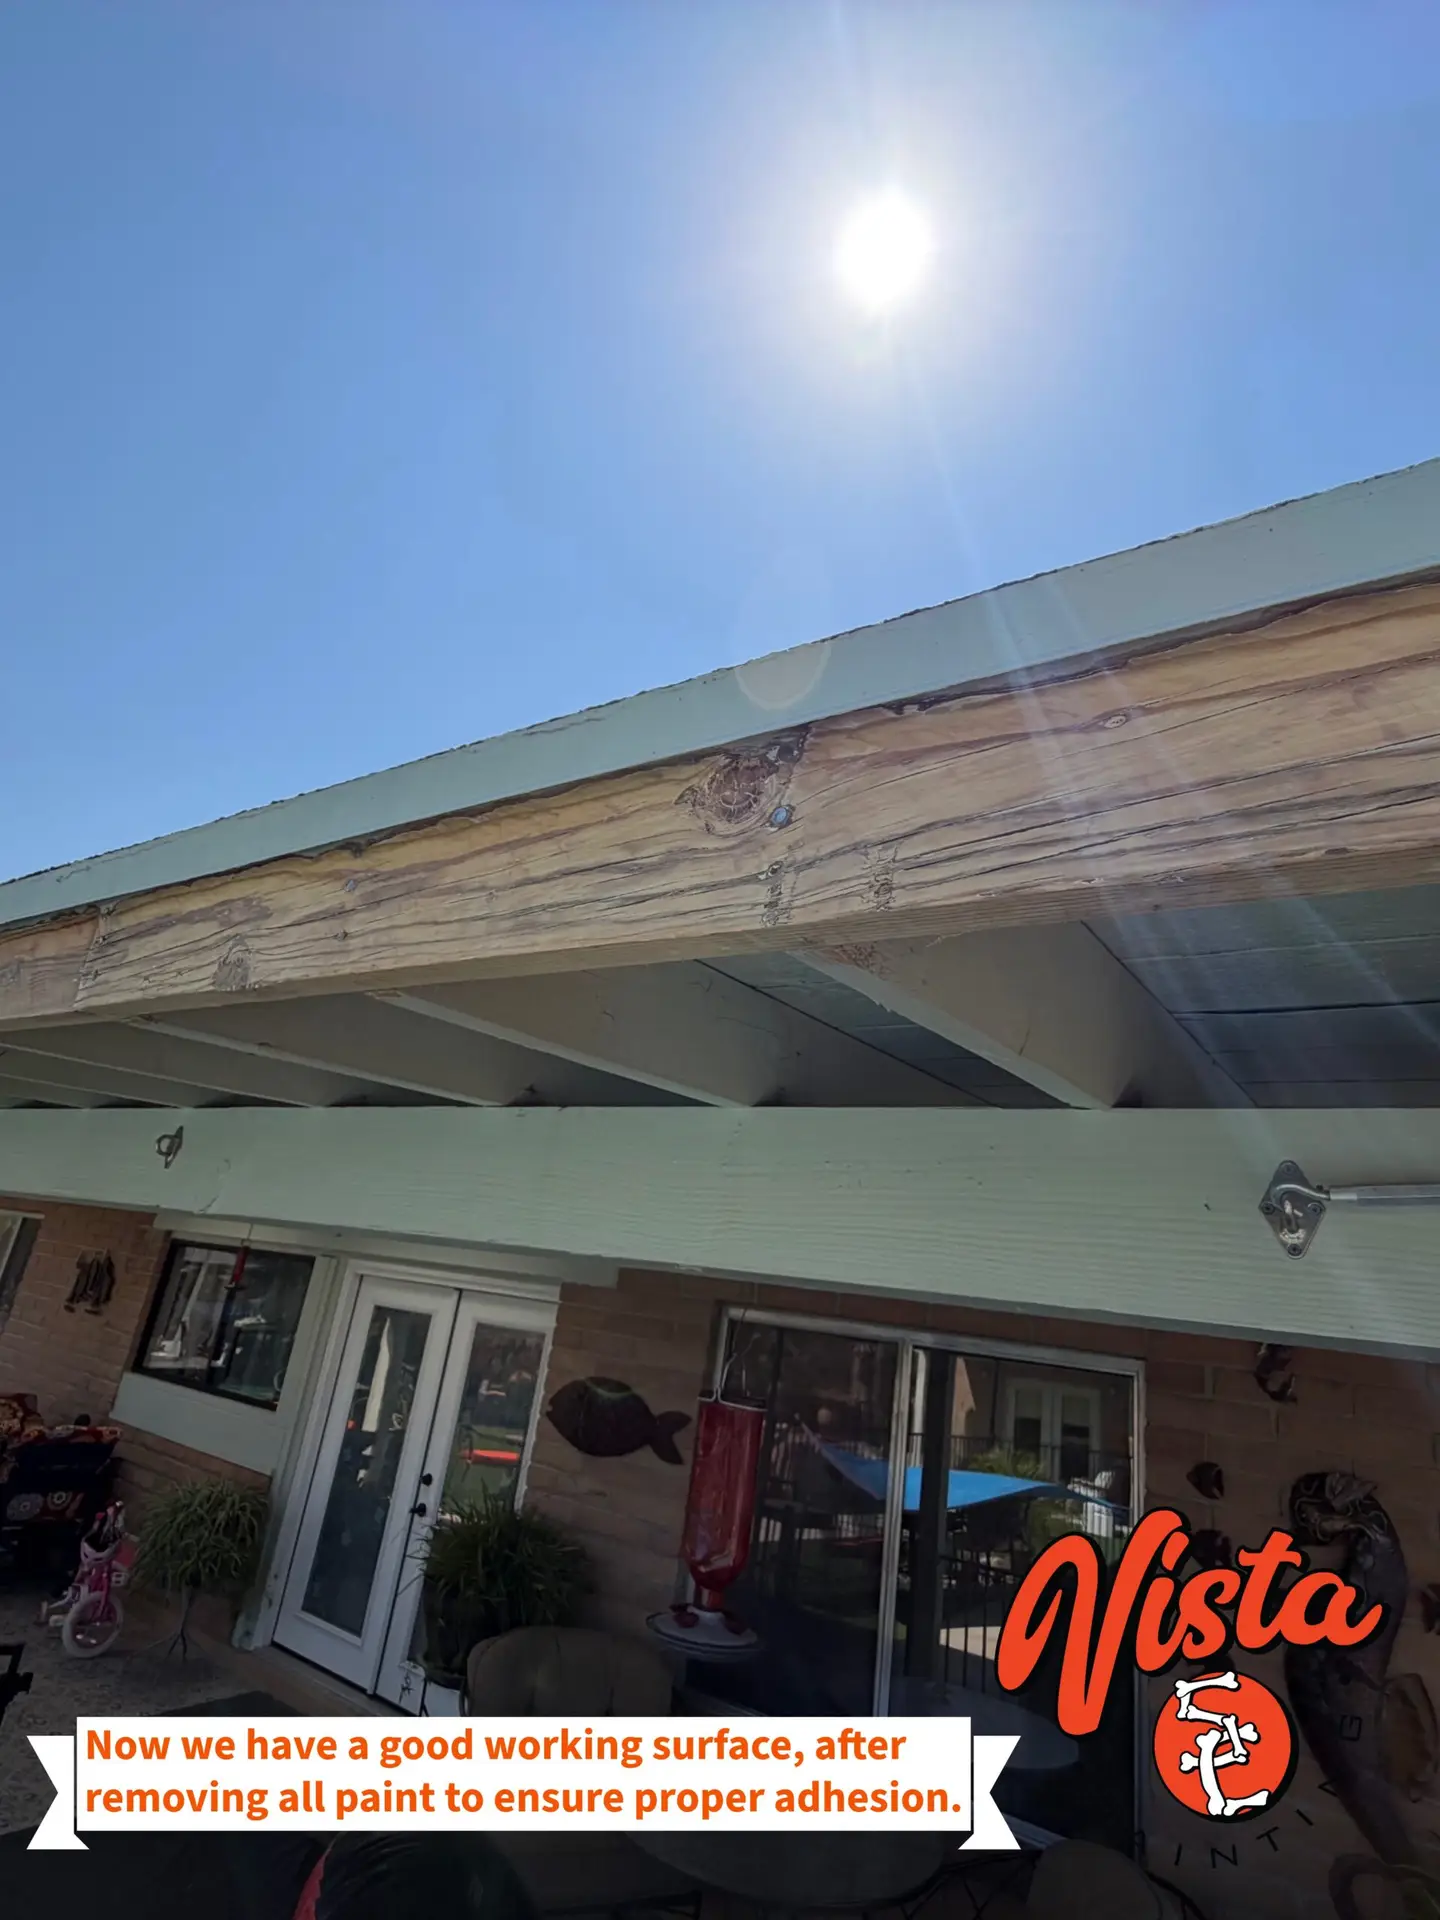
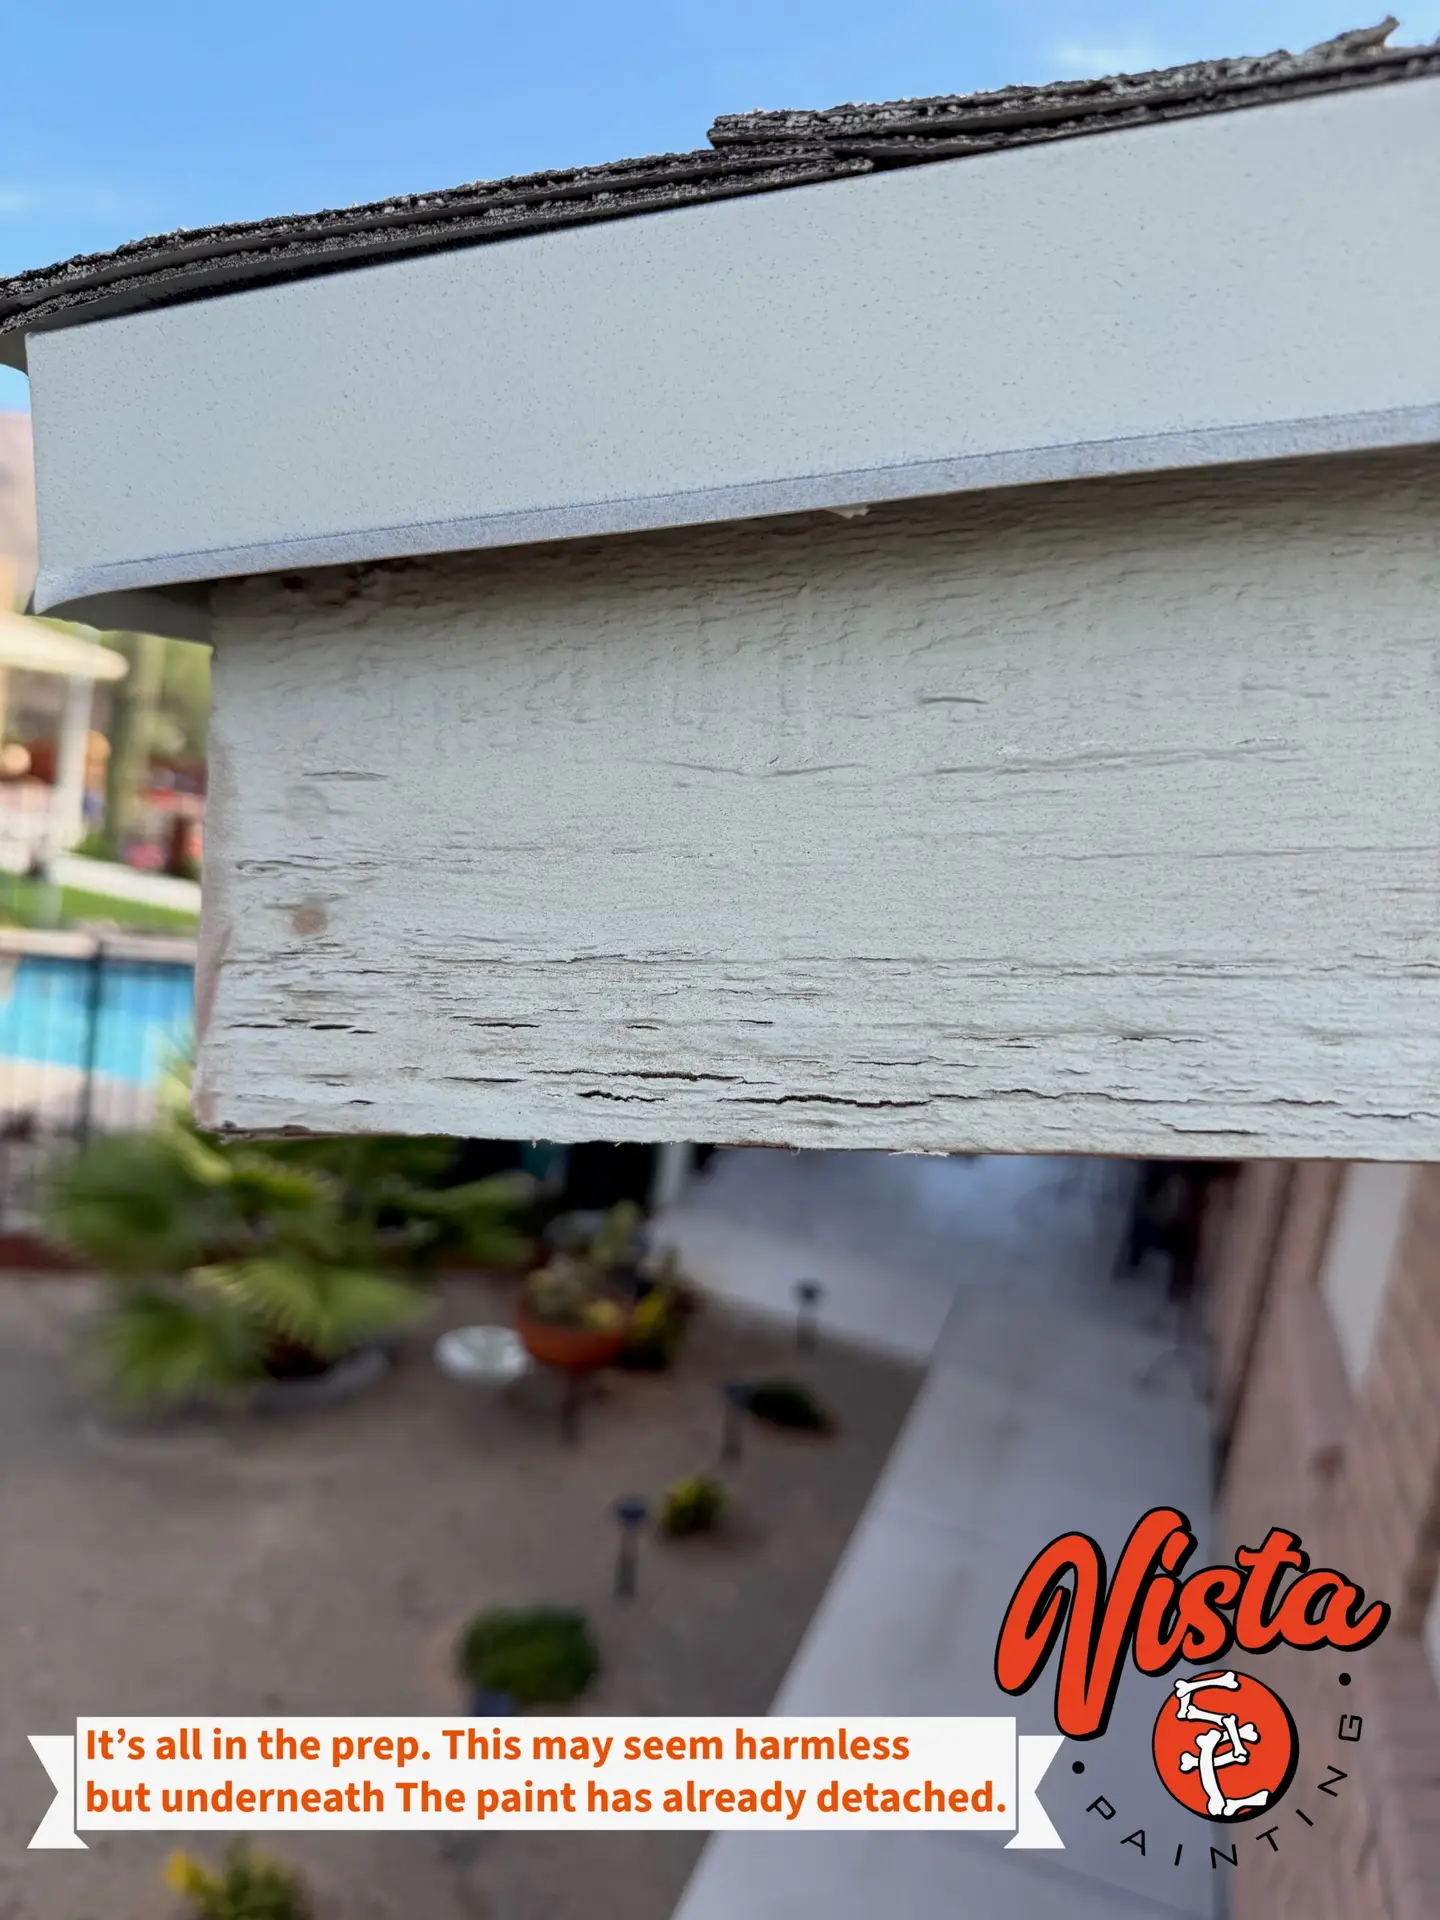
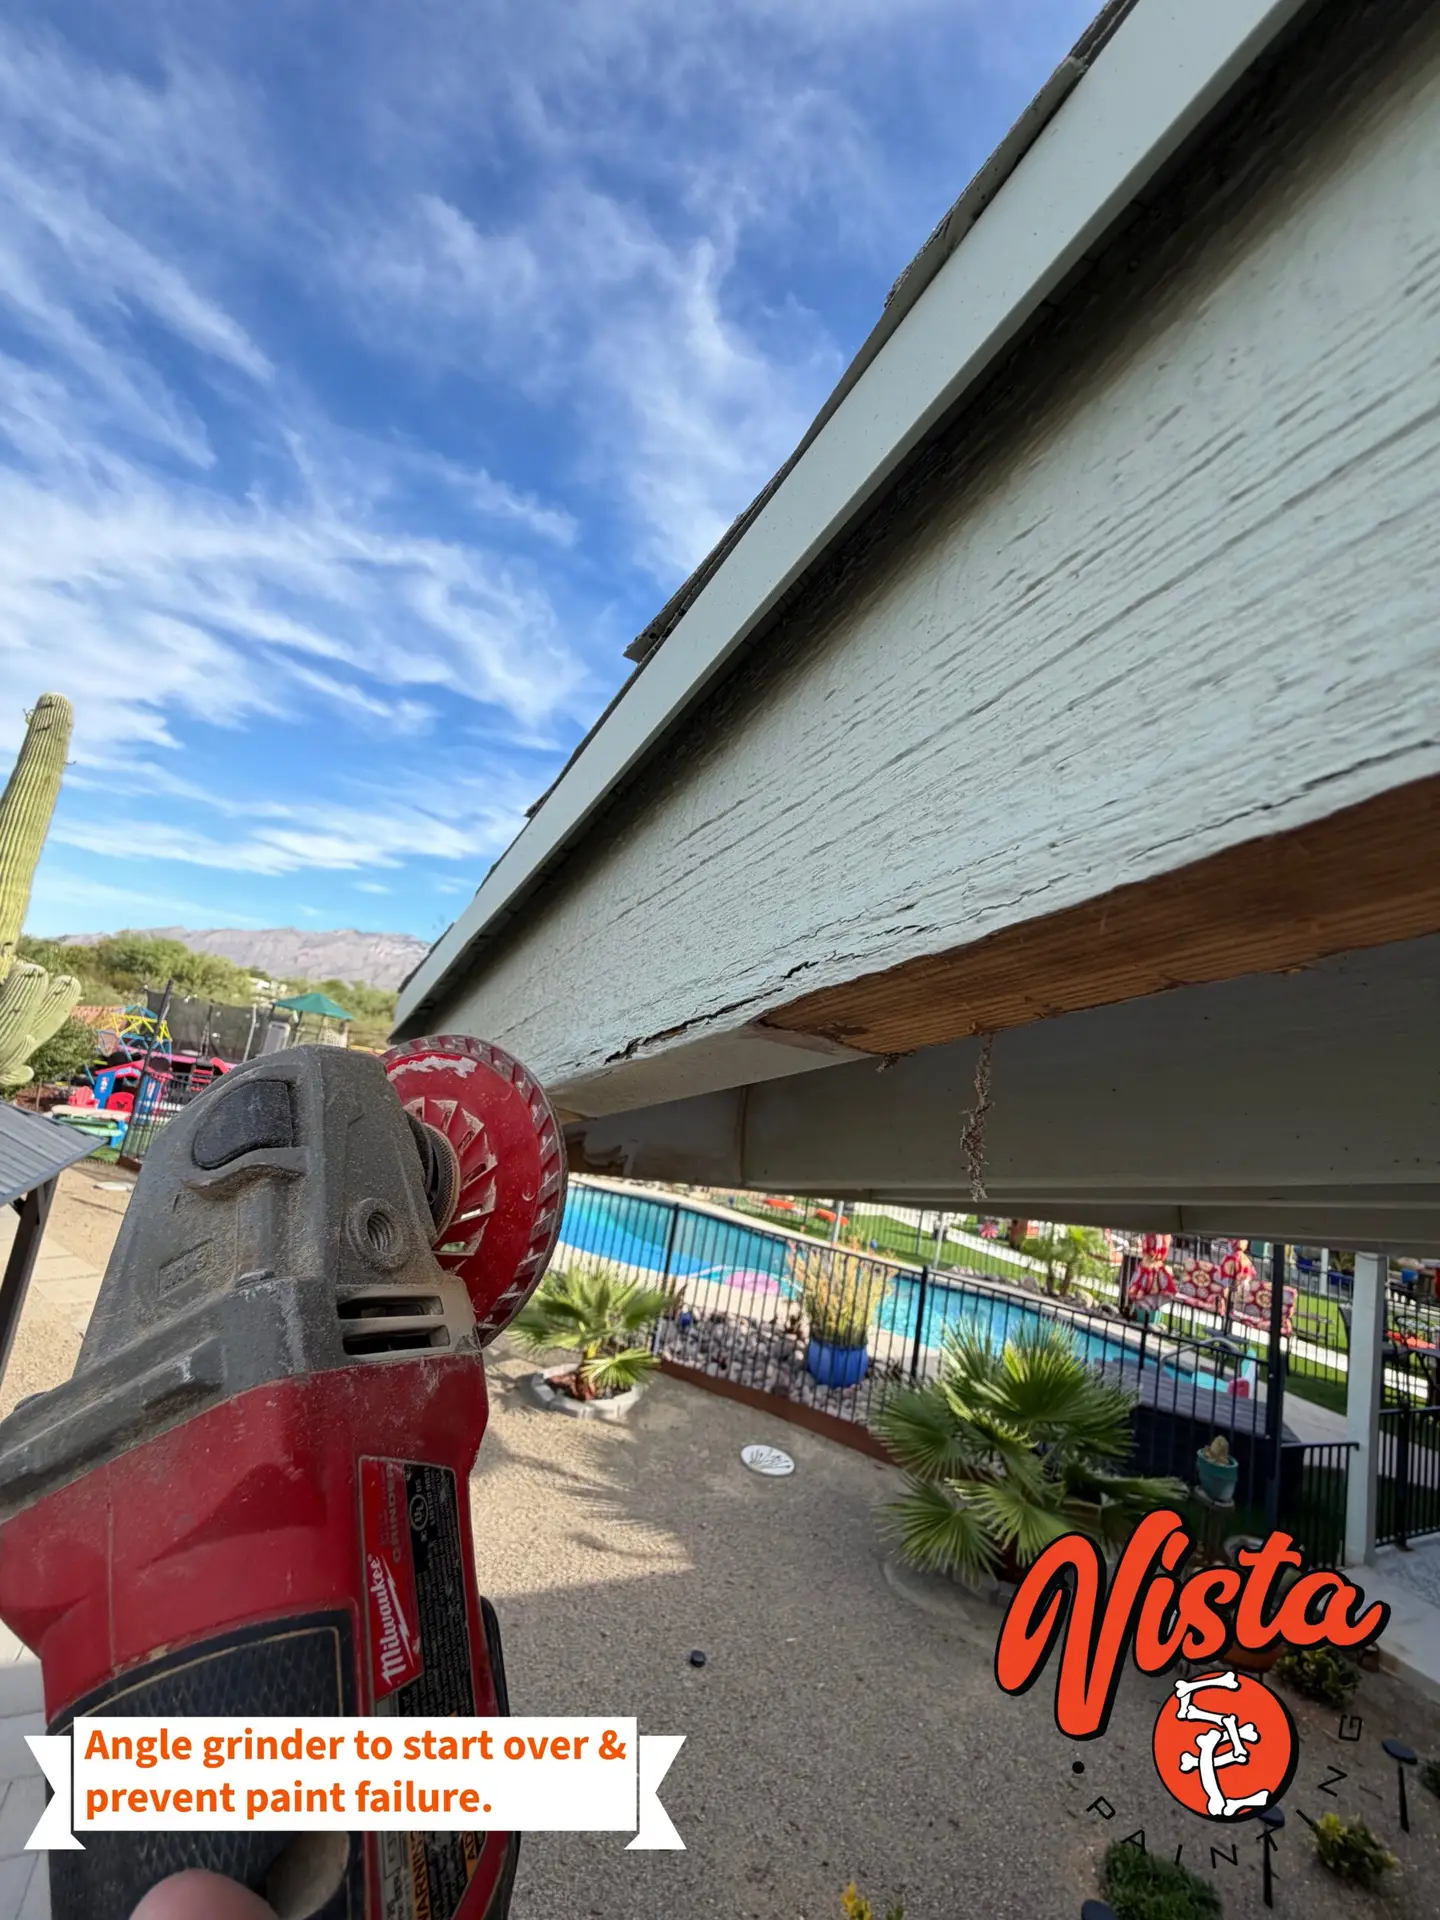
When fascia paint begins peeling or separating from the wood, simply painting over it will not provide a lasting finish. We begin by scraping and mechanically removing loose or failing coatings, sometimes taking the surface down to bare wood. The remaining edges are sanded and feathered to create a smooth, stable surface.
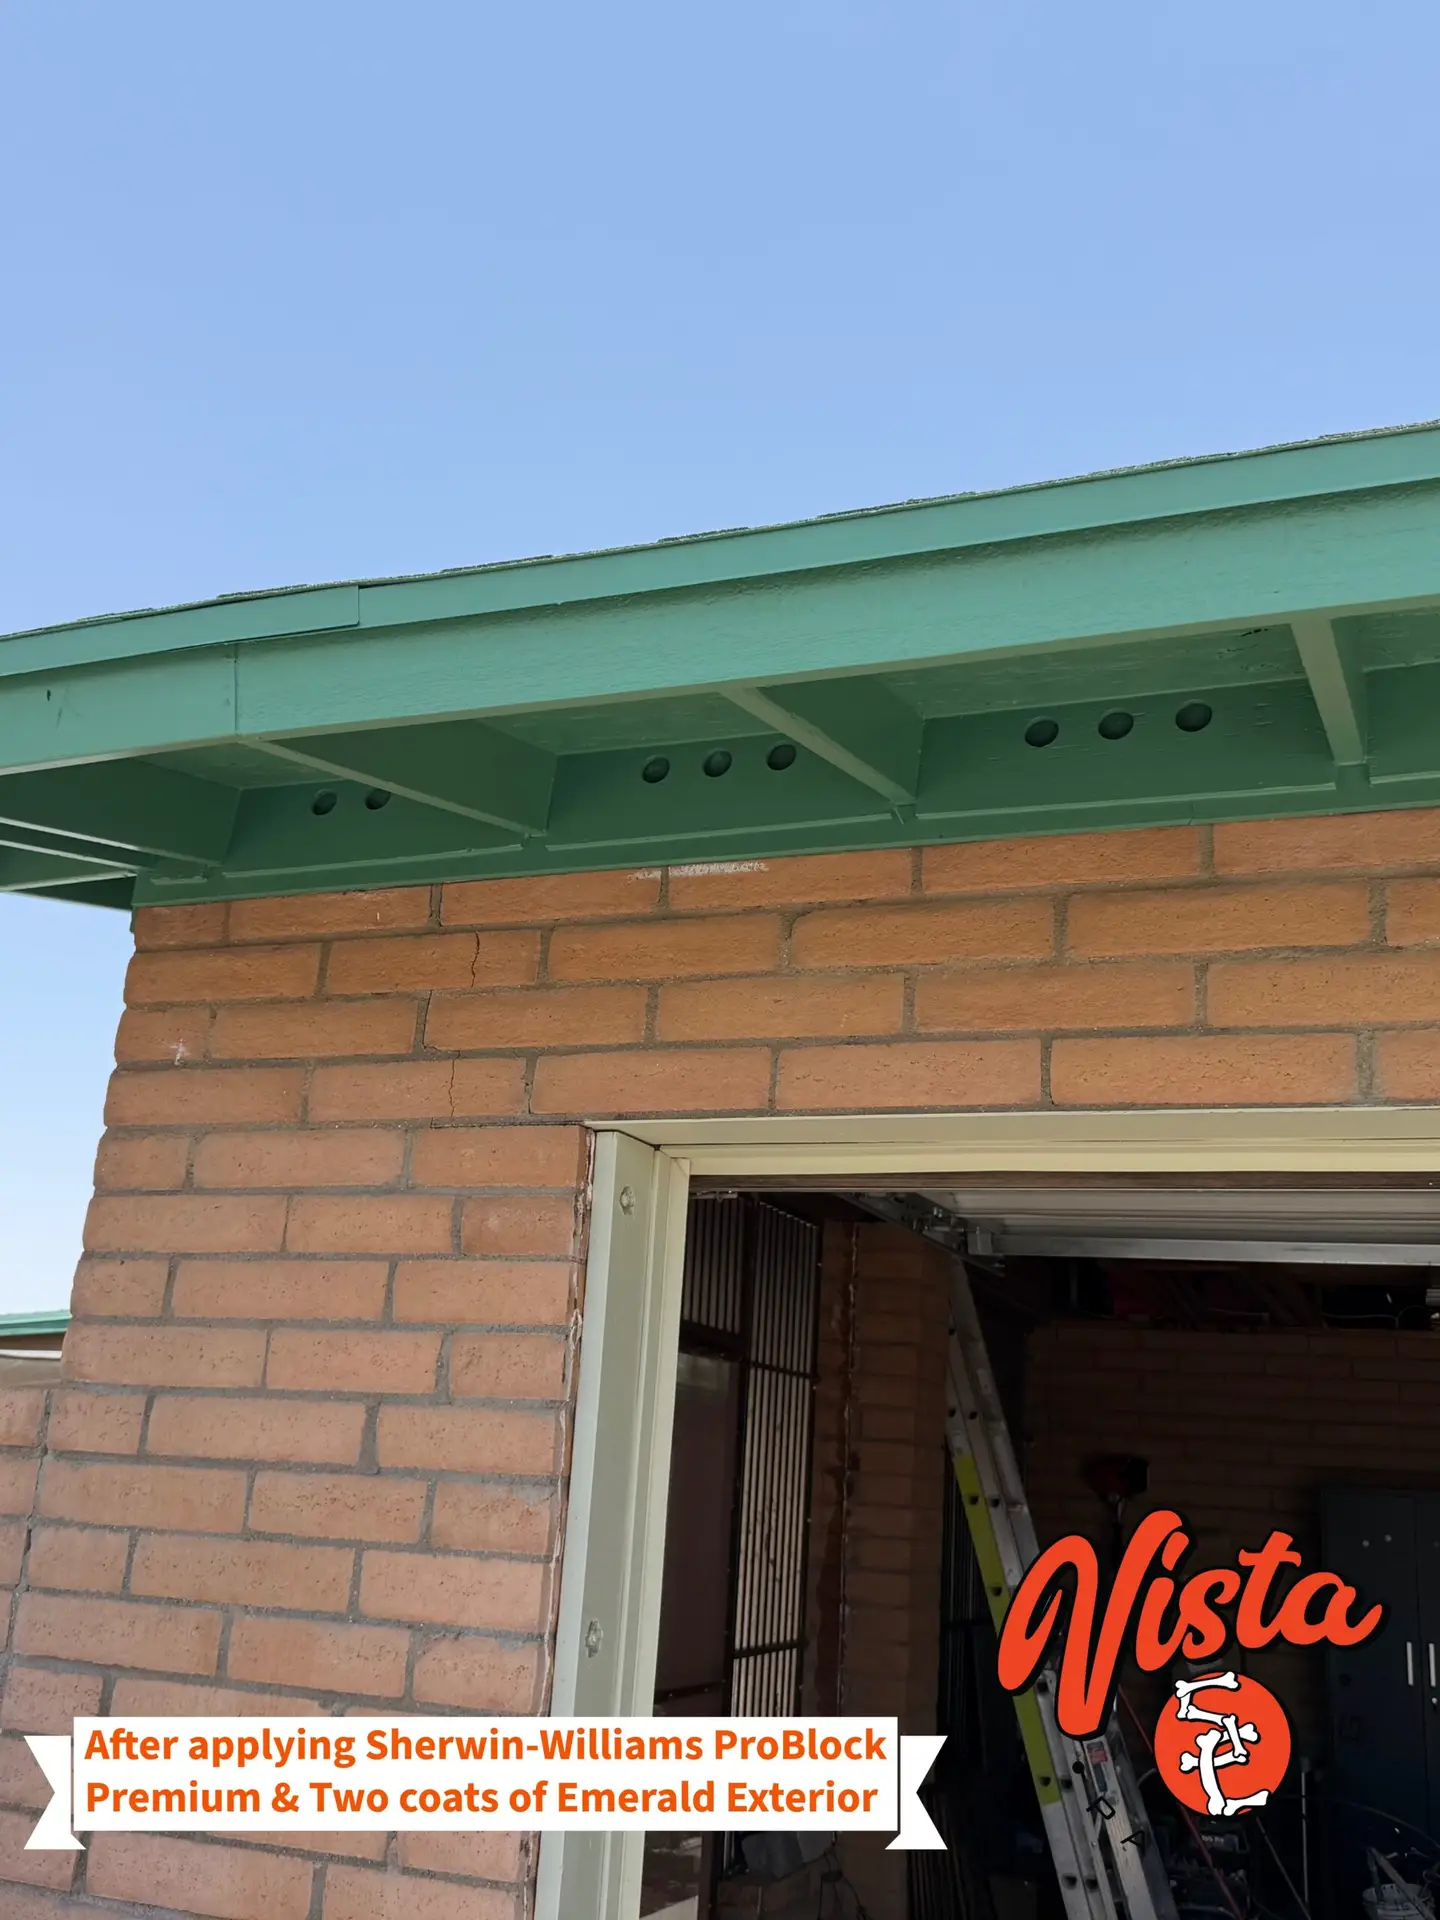
Exposed wood is then primed with Sherwin-Williams ProBlock Premium Primer to improve adhesion, seal the surface, and help prevent stains from bleeding through. After the necessary caulking and preparation are complete, we apply Sherwin-Williams Emerald Exterior paint for a clean, durable finish designed to withstand Tucson’s intense sun and changing weather.
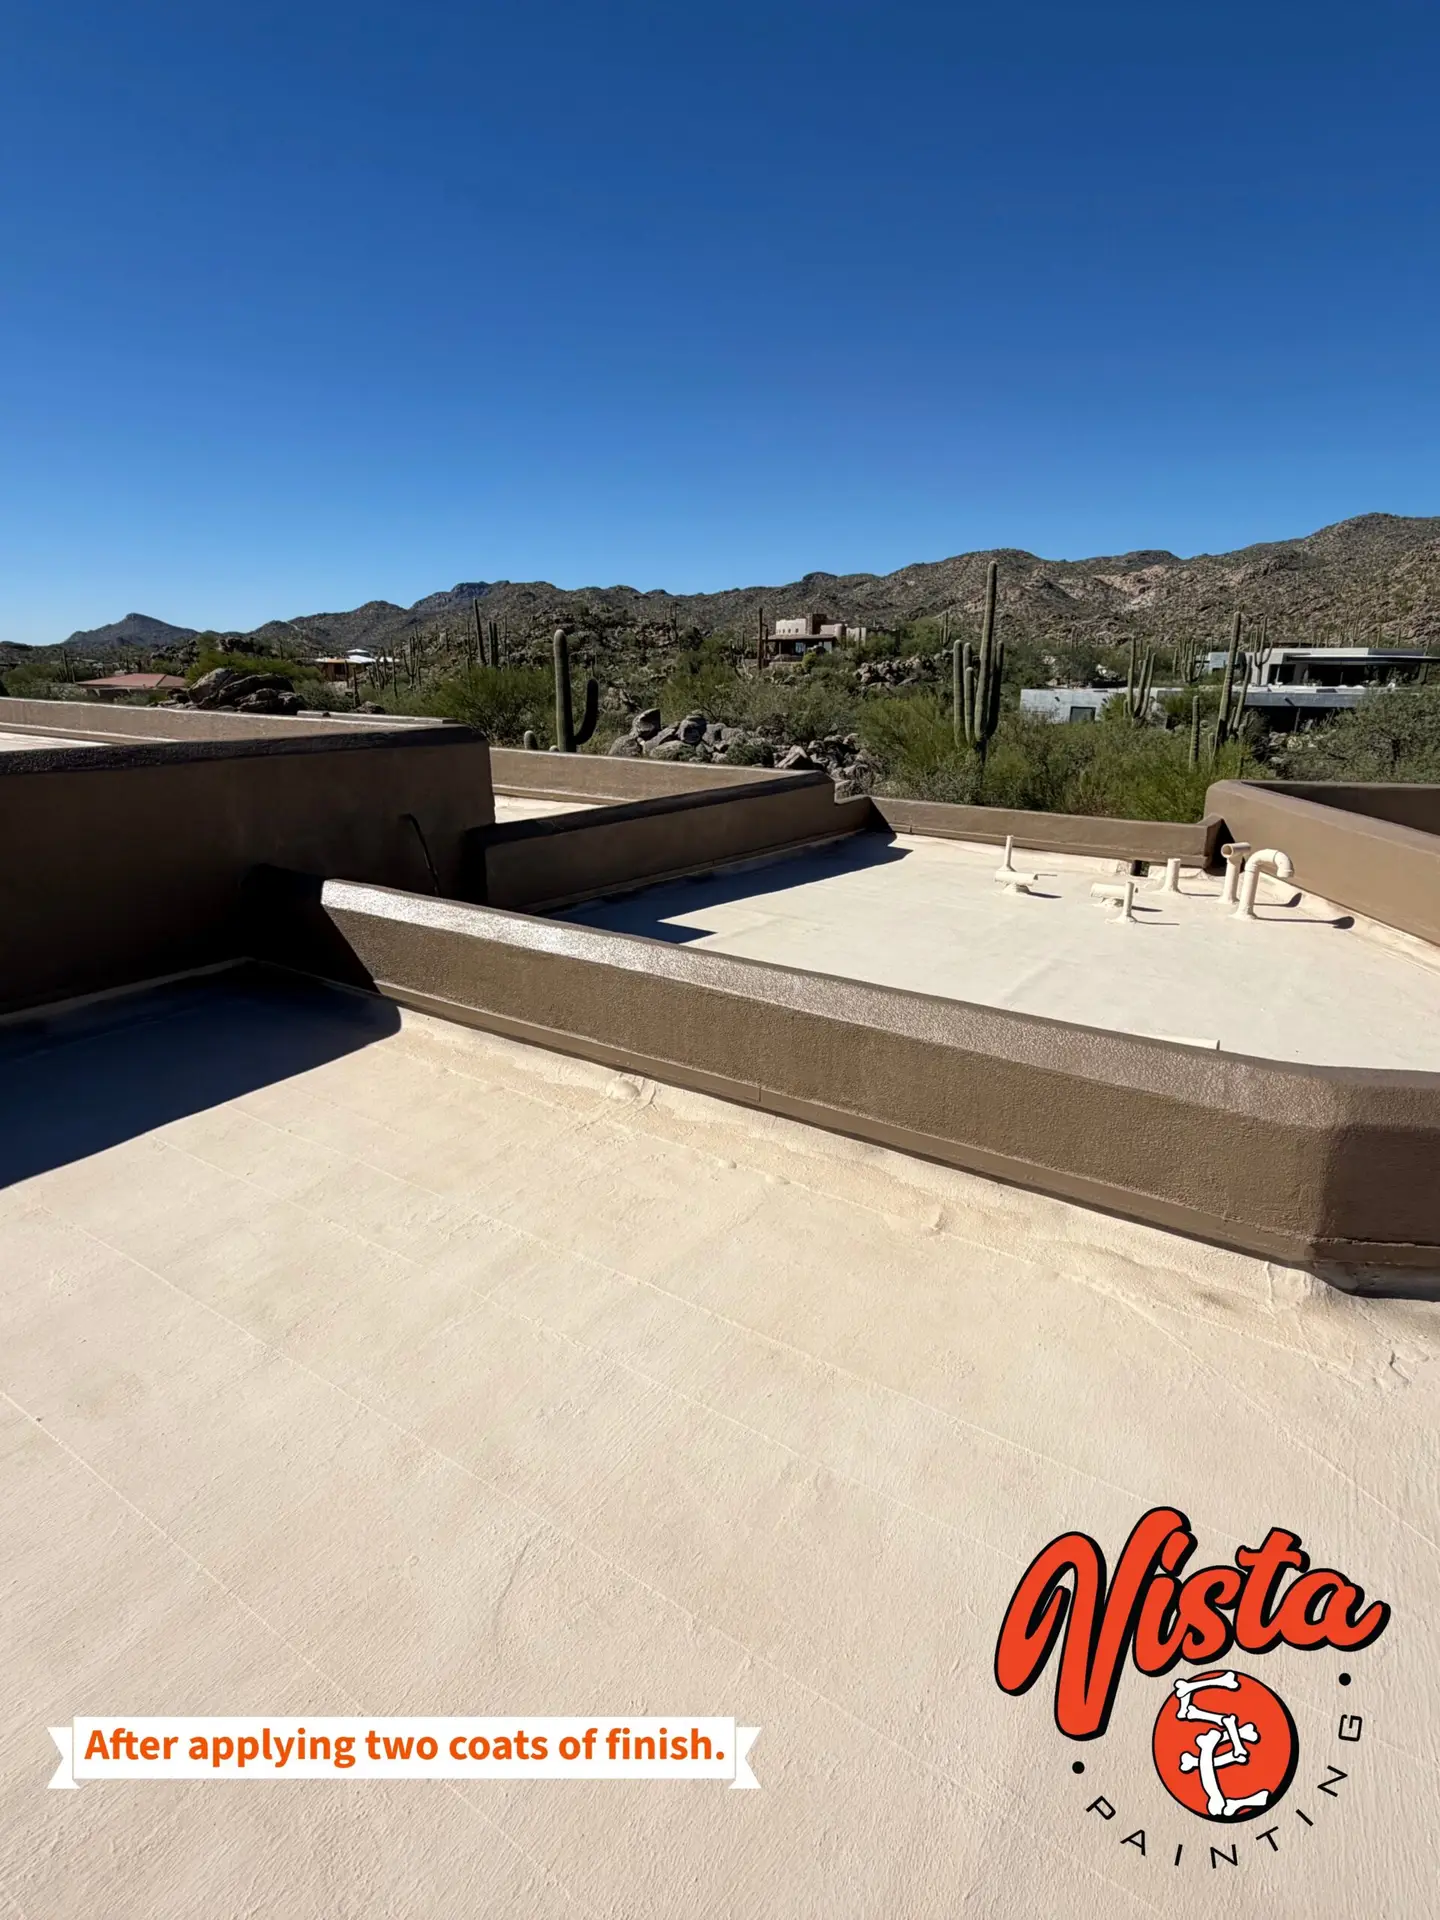
These images show the process from failing paint and exposed wood to a properly primed and professionally finished fascia. At Vista SC Painting, preparation is the foundation of a long-lasting paint job.
Protecting the Roof—and the Parapets
Because most homeowners do not regularly climb onto their roofs, the condition of these surfaces can easily go unnoticed. Unfortunately, that also means roof areas are sometimes painted with minimal preparation and only enough material to improve their appearance temporarily. Without proper cleaning, repairs, and sufficient coating, cracks and deteriorated areas can continue allowing moisture to penetrate the surface.
Routine roof maintenance is crucial, but the parapet walls are equally important. Parapets are constantly exposed to Arizona’s intense sunlight, monsoon rain, wind, and temperature changes. Cracks commonly develop along the tops of the walls, corners, joints, and areas where the parapets meet the roof. If these vulnerable areas are neglected, water can enter behind the coating and eventually lead to peeling, damaged stucco, or moisture problems inside the home.
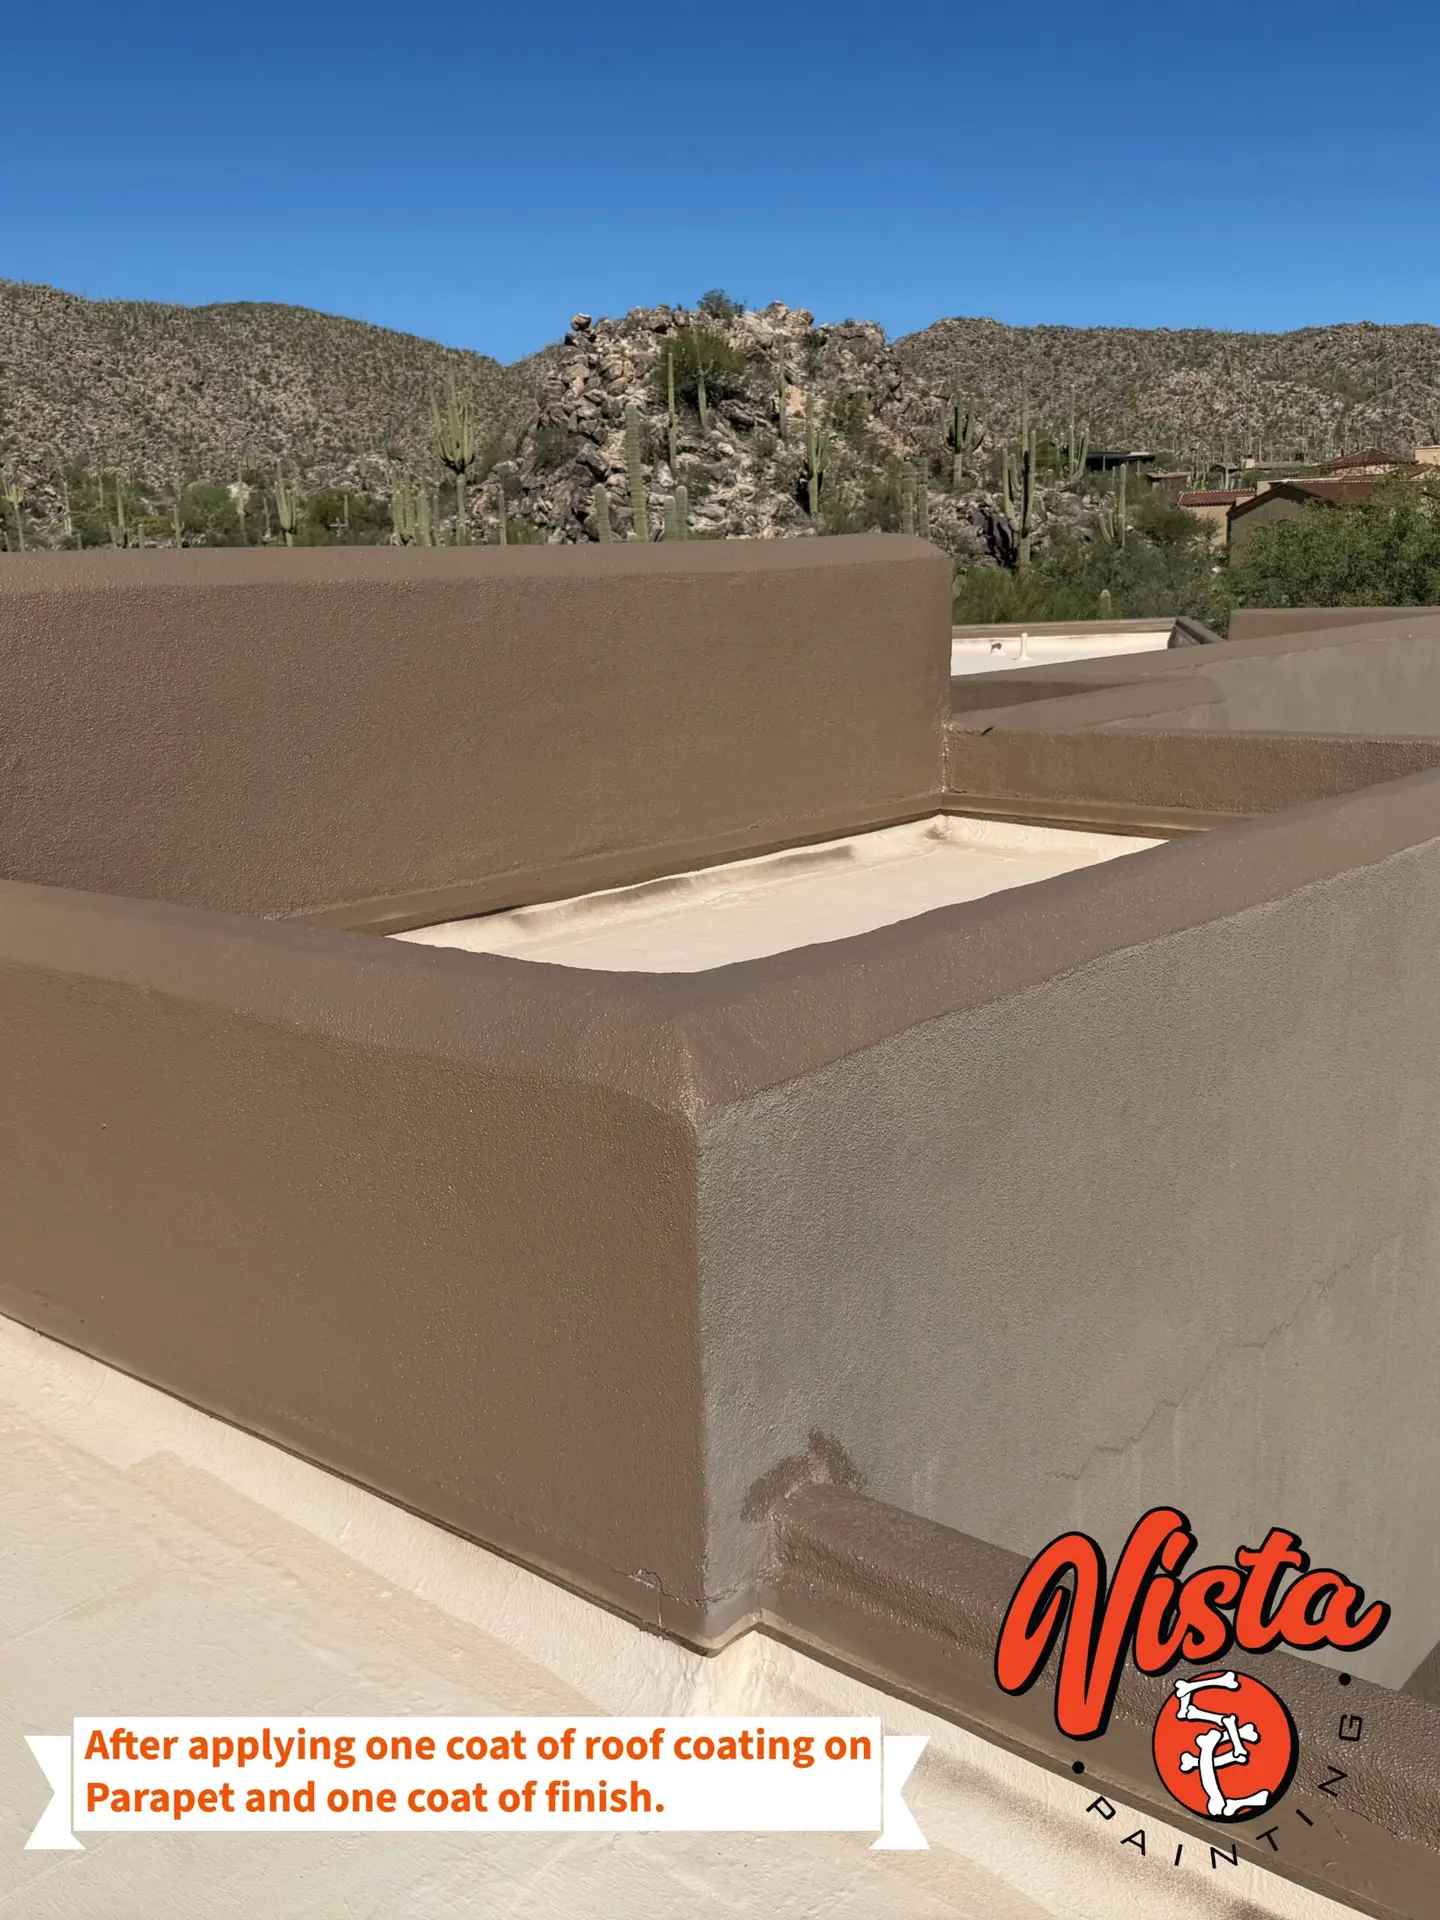
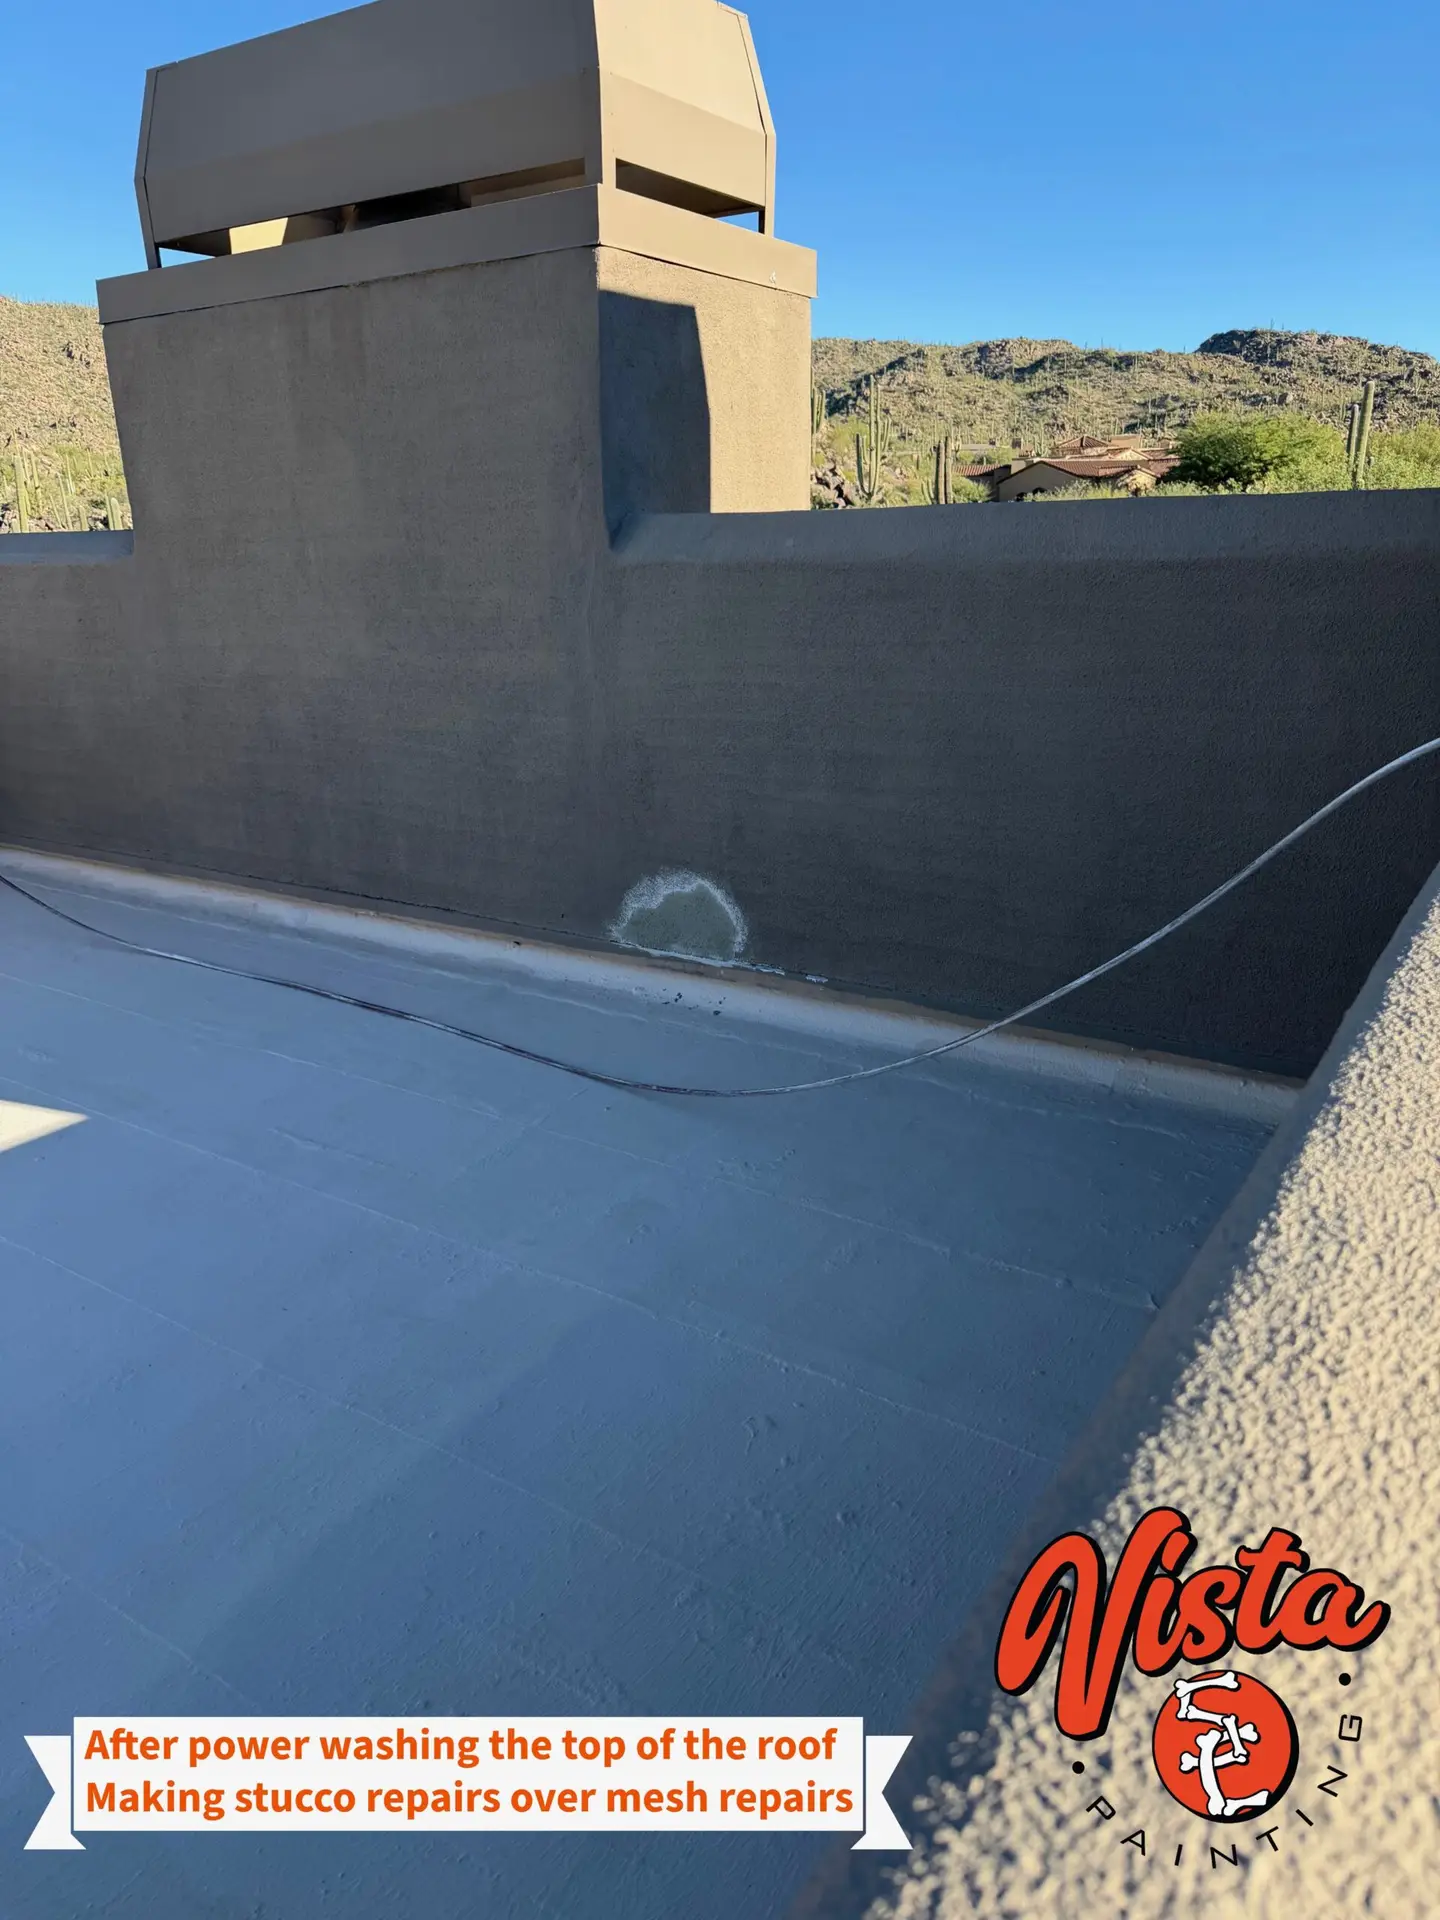
For this project, we began by power washing the roof and parapet walls to remove dirt, loose material, and failing coatings. Damaged stucco and previously reinforced mesh areas were then repaired and blended into the surrounding surface. After completing the necessary preparation, we applied a protective roof coating to the appropriate areas and two finish coats to the parapet walls for consistent coverage and long-term protection.
Taking the time to prepare and coat both the roof and parapets properly helps protect the entire roofing system—not just the areas visible from the ground.